Follow Me On Social Media!
Homemade Vanilla Ice Cream Recipe: Blissfully Creamy Treat
Introduction to Homemade Vanilla Ice Cream Recipe
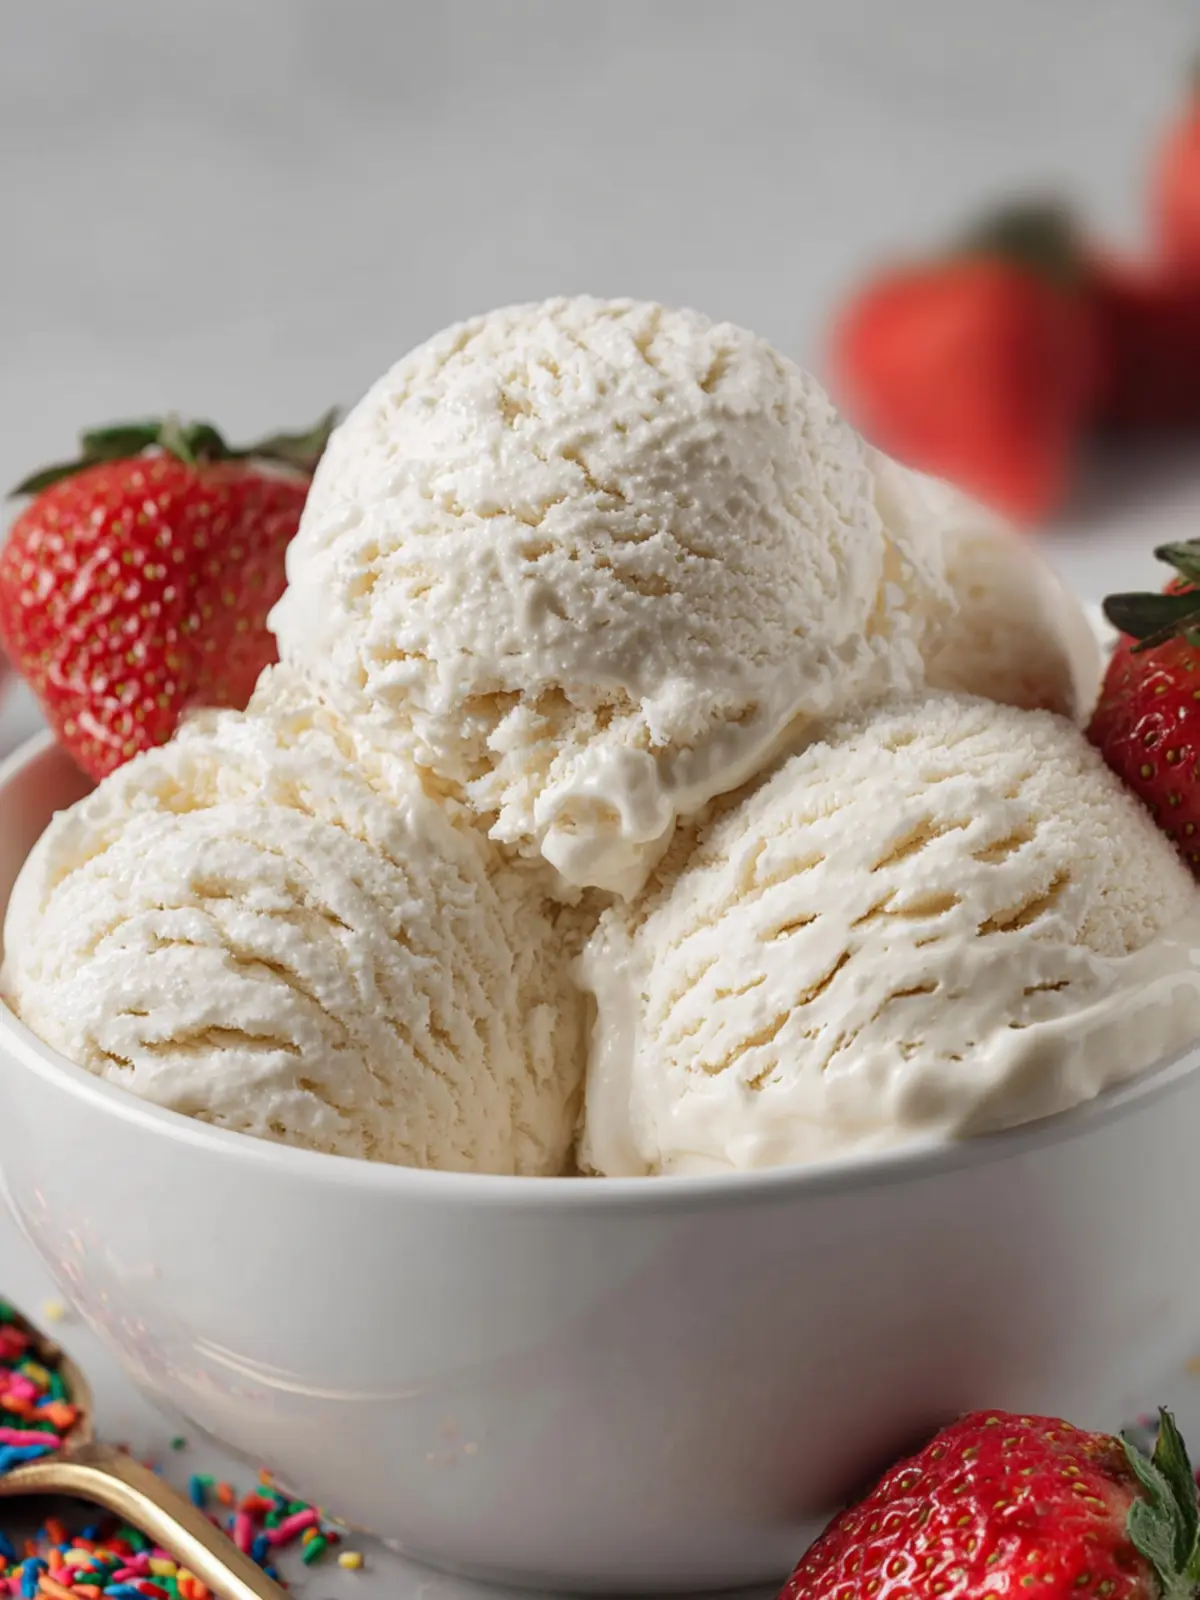
Creating a batch of homemade vanilla ice cream transforms a simple summer day into a delightful treat that becomes a cherished memory. Picture this: a sunny afternoon where friends gather, laughter fills the air, and your kitchen is filled with the comforting aroma of vanilla wafting through the air. With this homemade vanilla ice cream recipe, you won’t just make ice cream; you’ll craft something that encapsulates the warmth of shared moments and the joy of indulging in something wonderfully sweet.
What Makes Homemade Vanilla Ice Cream So Special?
The allure of homemade vanilla ice cream lies not just in its creamy texture or sweet flavor but in the personalization and freedom it offers. With a few simple ingredients, you can create a dessert that reflects your taste preferences and creativity.
-
Quality Ingredients: When you make your own ice cream, you have complete control over the ingredients. Opt for real vanilla beans or authentic vanilla extract. This ensures you’re getting rich, authentic flavor that far surpasses most store-bought versions.
-
Customizable Flavor Profiles: Feel free to experiment! Whether it’s adding a swirl of chocolate, a hint of cinnamon, or bits of your favorite cookies, homemade ice cream allows for endless variations.
-
Freshness: There’s nothing quite like the taste of freshly churned ice cream. The texture is robust, buttery, and importantly, you know exactly what’s in it. No preservatives, no artificial flavors—just pure goodness.
-
Creating Memories: Making ice cream can be a communal event. Invite friends over for an ice cream-making party where everyone contributes their favorite mix-ins. This ties in the joy of cooking with unforgettable experiences.
So, let’s roll up our sleeves and dive into a simple yet satisfying homemade vanilla ice cream recipe that will elevate any occasion to sweet serendipity. Get ready to impress your family and friends with a treat that’s not only delicious but also a reflection of your personal touch!
Key Ingredients for Homemade Vanilla Ice Cream
Creating your own homemade vanilla ice cream is an adventure that encapsulates the essence of summer treats and lazy afternoon indulgence. Each ingredient plays a pivotal role in crafting the perfect, creamy delight.
-
Heavy Cream: This is the cornerstone of our ice cream. The fat content in heavy cream provides a rich and luscious texture that must be savored. Trust me, you won’t achieve the same richness with lower-fat options!
-
Whole Milk: This balances the creaminess of the heavy cream while ensuring a smooth consistency. Whole milk adds just the right amount of body without overpowering the flavor.
-
Granulated Sugar: Essential for sweetness, granulated sugar not only brings out the flavors but also contributes to a smooth texture. You can adjust the quantity according to your preference for sweetness.
-
Vanilla Extract: Pure vanilla extract is the star of this recipe. Its aromatic, rich flavor defines your homemade vanilla ice cream. It’s worth spending a little extra for quality extract!
-
Egg Yolks: Using egg yolks creates a custard base that adds depth and creaminess to the ice cream. This secret ingredient elevates your ice cream to a whole new level!
Remember, the quality of these key ingredients directly influences the final product, so select the best you can find! The magic of making ice cream at home lies in these choices. Enjoy the process!
Why You’ll Love This Recipe
Whipping up a delightful homemade vanilla ice cream recipe from scratch not only satisfies your sweet tooth but turns an ordinary day into something special. Imagine a lazy Sunday afternoon with a scoop of velvety goodness in hand, the sweet aroma of vanilla wafting through the air, and laughter of friends or family filling your home. There’s simply nothing like it!
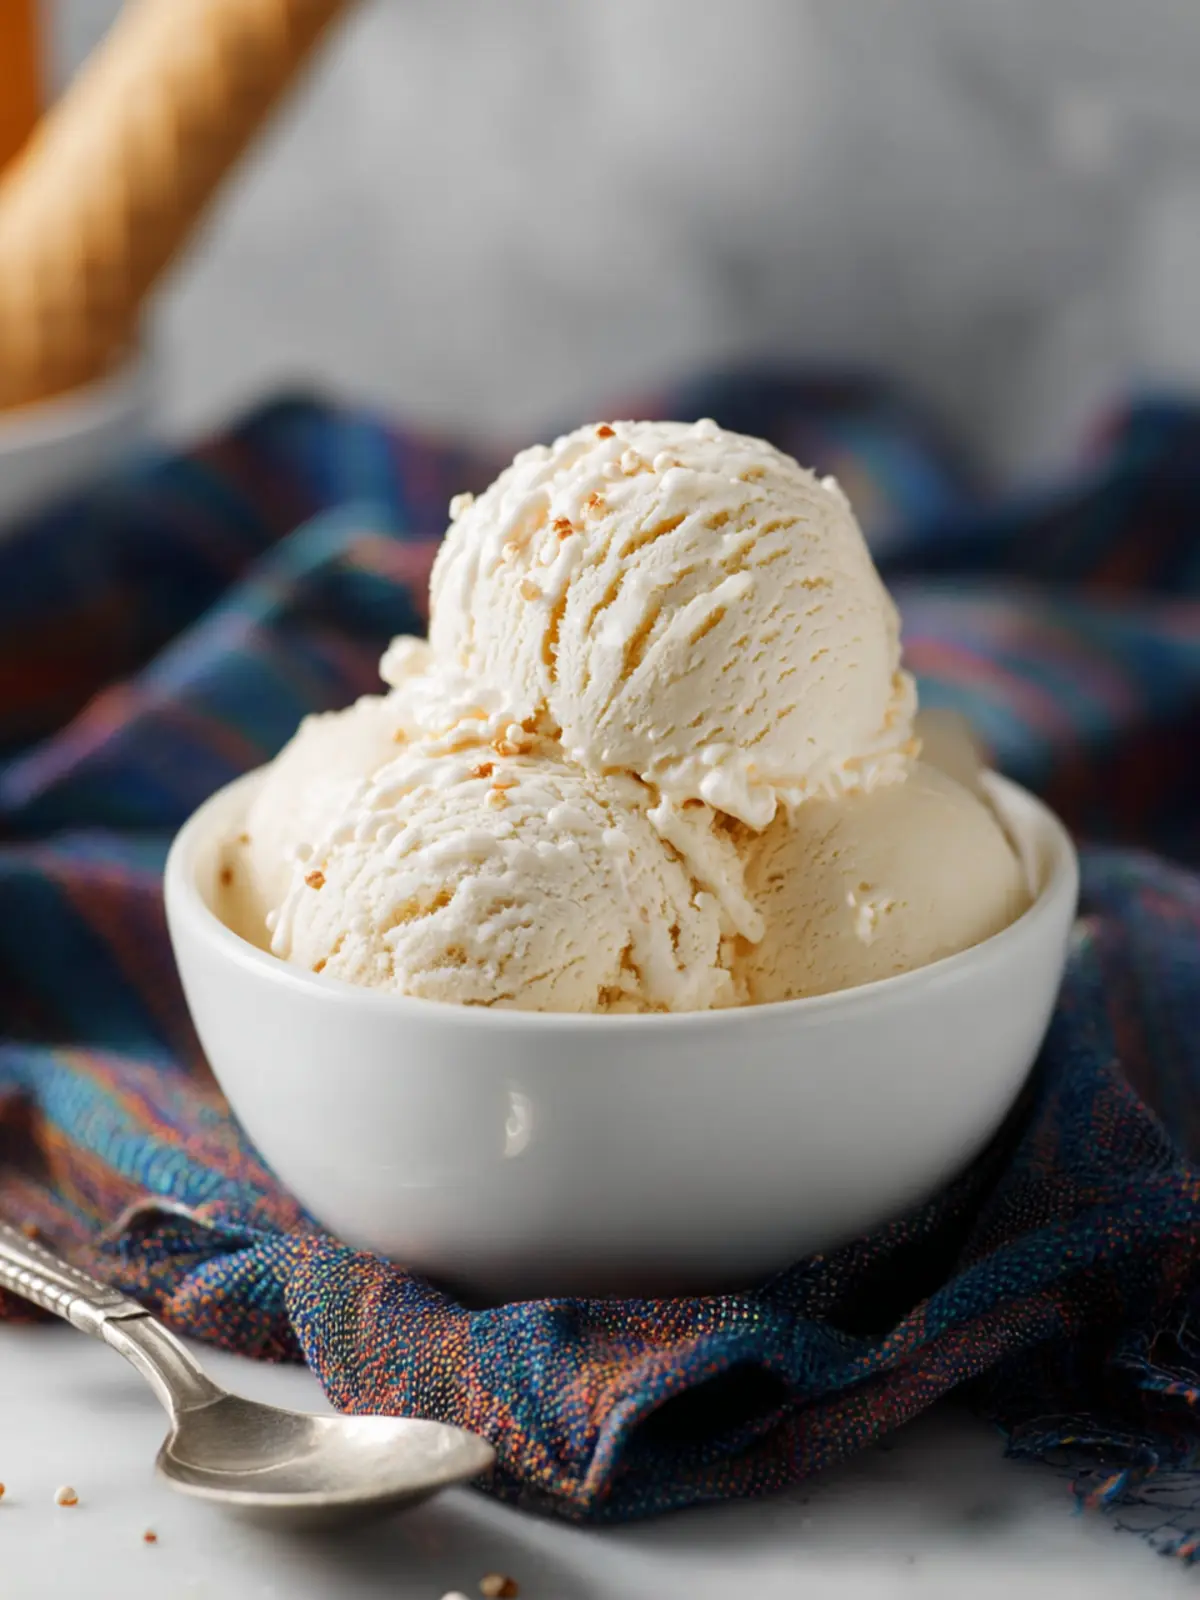
Rich, Creamy Texture
One of the best aspects of this homemade vanilla ice cream recipe is its rich, creamy texture that store-bought ice cream can’t quite achieve. With a careful blend of fresh cream and milk, each bite melts blissfully on your tongue.
Endless Customization
Feeling adventurous? This recipe serves as a fantastic base! You can easily add your favorite mix-ins like chocolate chips, crushed cookies, or even fresh fruit. It’s an exciting opportunity to tailor each batch to your taste – today you might go for a classic vanilla, and tomorrow, who knows? It could be cookie dough!
Memories in Every Scoop
Making ice cream at home encourages bonding moments. Whether you’re teaching your friends the art of ice cream-making, or simply enjoying it together on a hot summer day, you’re creating memories with every scoop. There’s something about homemade desserts that brings people closer, and this creamy delight is no exception.
Variations
Crafting your homemade vanilla ice cream recipe opens up a delightful playground for creativity. Imagine developing unique flavors or even reimagining classic desserts with your soft-serve creation. Here are some enticing variations to inspire your ice cream journey:
Flavor Infusions
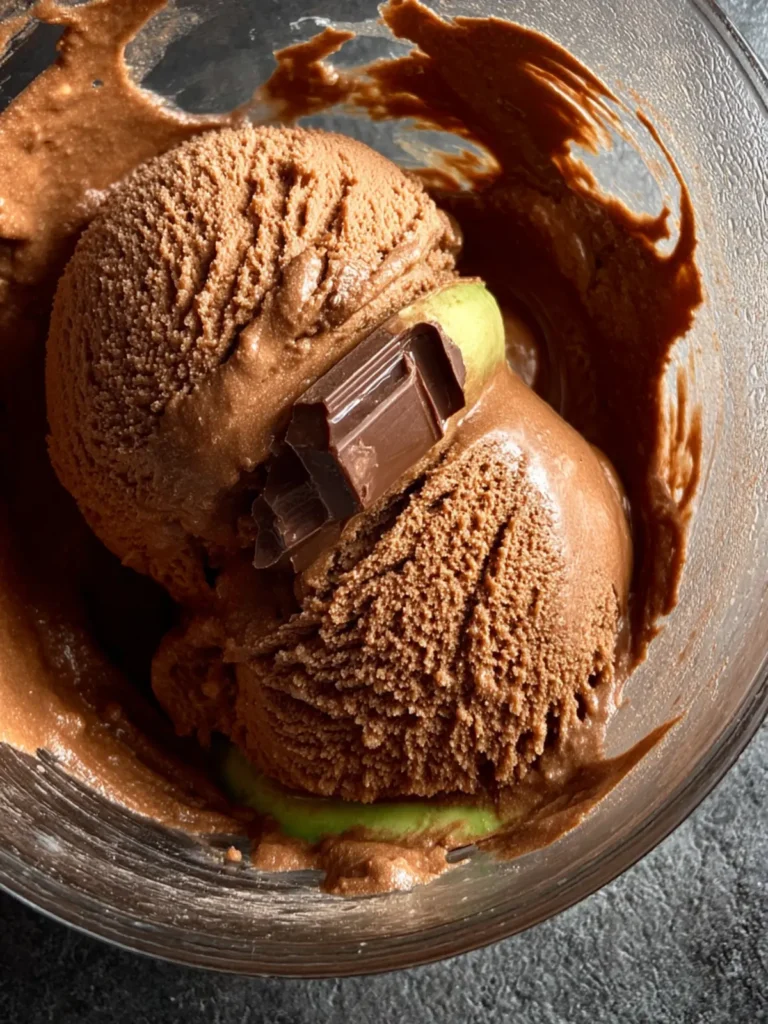
- Chocolate Swirl: Start by melting good-quality dark chocolate, then drizzle it into the churned ice cream just before freezing. This creates a luscious ripple effect, mixing intense chocolate flavor with the creamy vanilla base.
- Coffee Delight: Brew a strong cup of coffee and mix it into your ice cream base before freezing. This not only adds a kick but is perfect for coffee lovers looking for a refreshing treat.
Add-Ins and Toppings
- Nutty Crunch: Fold in a mix of toasted nuts—like almonds, pecans, or walnuts—after your ice cream has been churned. This gives it a satisfying crunch with every scoop.
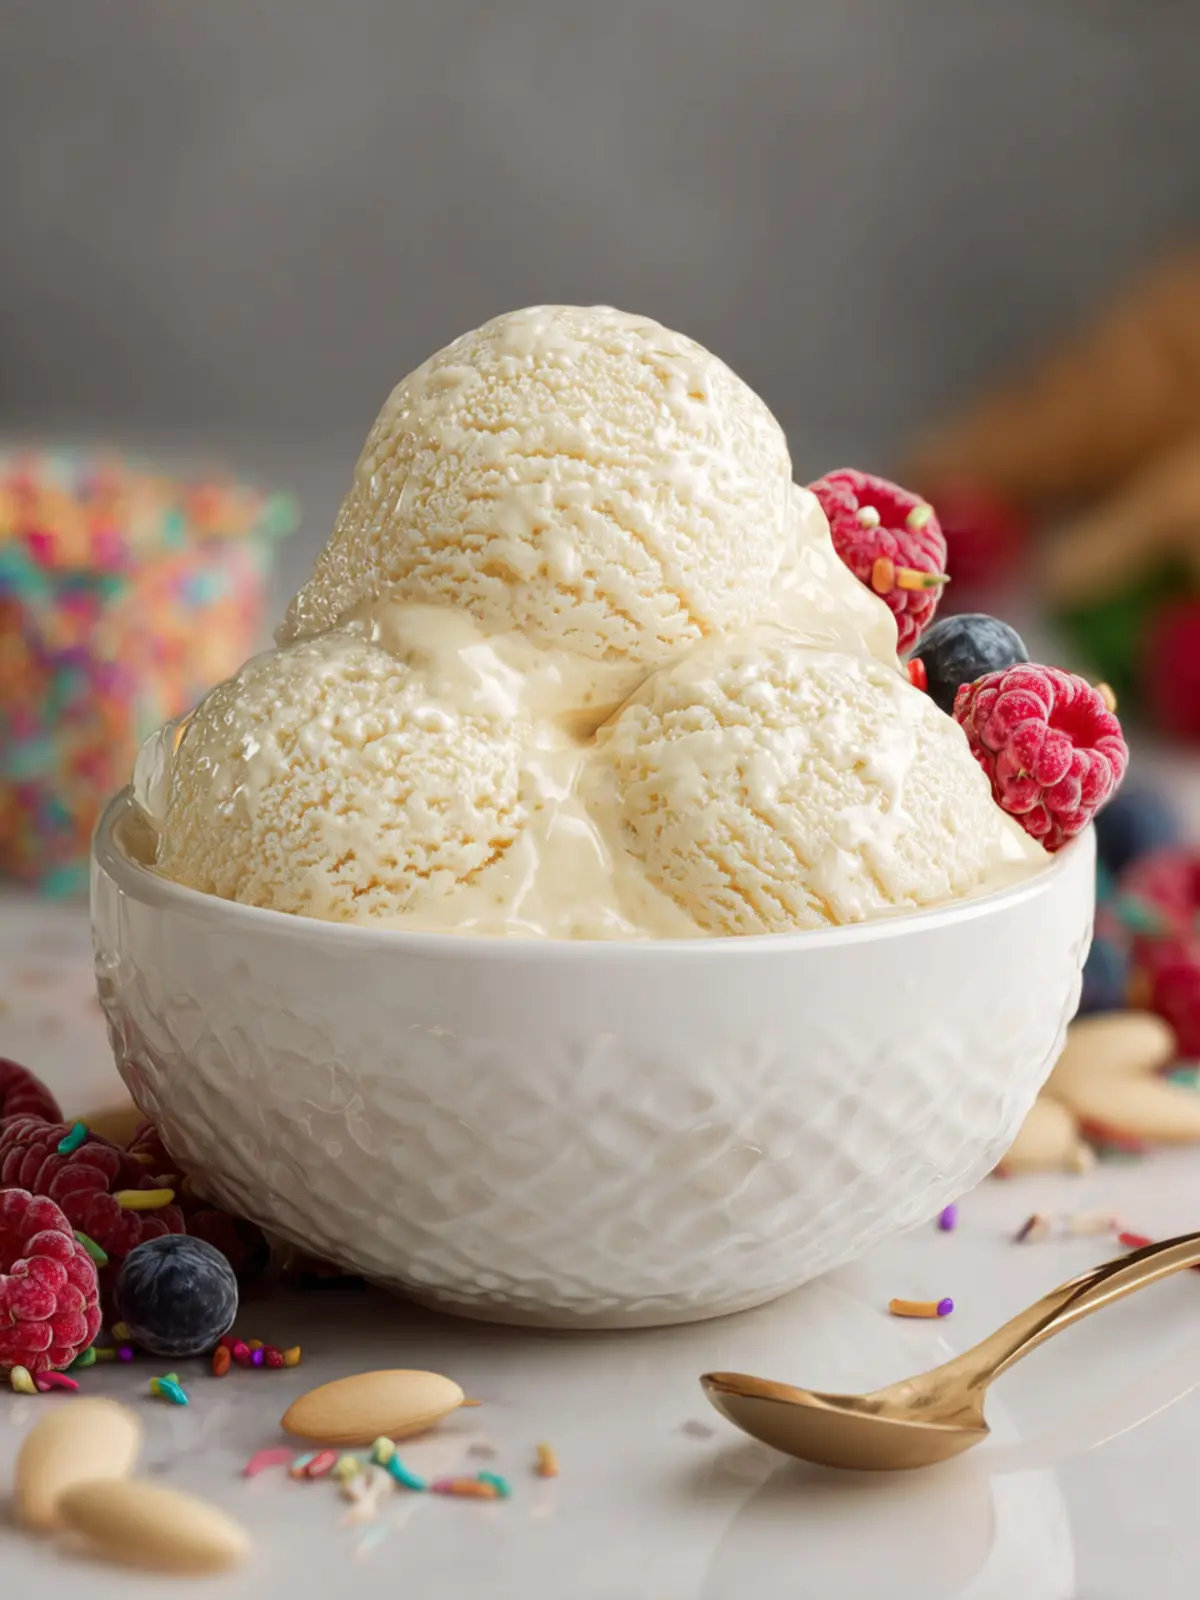
- Fruit Blast: Add in chunks of fresh fruits such as strawberries, blueberries, or peaches right before your ice cream is fully frozen. The fruits infuse a pop of brightness to your homemade vanilla ice cream recipe.
Special Treats
- Ice Cream Sandwiches: Use the finished ice cream to make sandwiches with your favorite cookies or brownies. This simple twist turns your ice cream into a fun dessert that’s perfect for gatherings.
Experimenting with these variations can make your homemade vanilla ice cream not just a treat, but an experience!
Cooking Tips and Notes
Crafting your own homemade vanilla ice cream recipe takes you on a journey filled with creativity and deliciousness. To ensure you create a creamy and dreamy treat, consider these helpful tips!
Use Quality Ingredients
When it comes to ice cream, the quality of your ingredients matters. Opting for fresh, natural vanilla extract or even real vanilla beans can elevate your ice cream to a gourmet level. Feel free to splurge on high-fat cream and whole milk for that rich, velvety texture everyone loves.
Chill Before Churning
For the best results, make sure your base is thoroughly chilled for at least 4 hours before pouring it into your ice cream maker. This helps create a smoother consistency, ensuring you don’t end up with icy crystals.
Don’t Over-Churn
As tempting as it may be to check on your ice cream, resist the urge to over-churn. This can lead to a grainy texture. Churn until just thickened; it should have a soft-serve consistency.
Method Matters
If you don’t have an ice cream maker, you can still enjoy homemade vanilla ice cream. Just pour the mixture into a shallow dish and freeze, stirring every 30 minutes to break up ice crystals until it reaches the desired creaminess.
These small tips make a big difference. Enjoy creating your delightful homemade vanilla ice cream!
Serving Suggestions
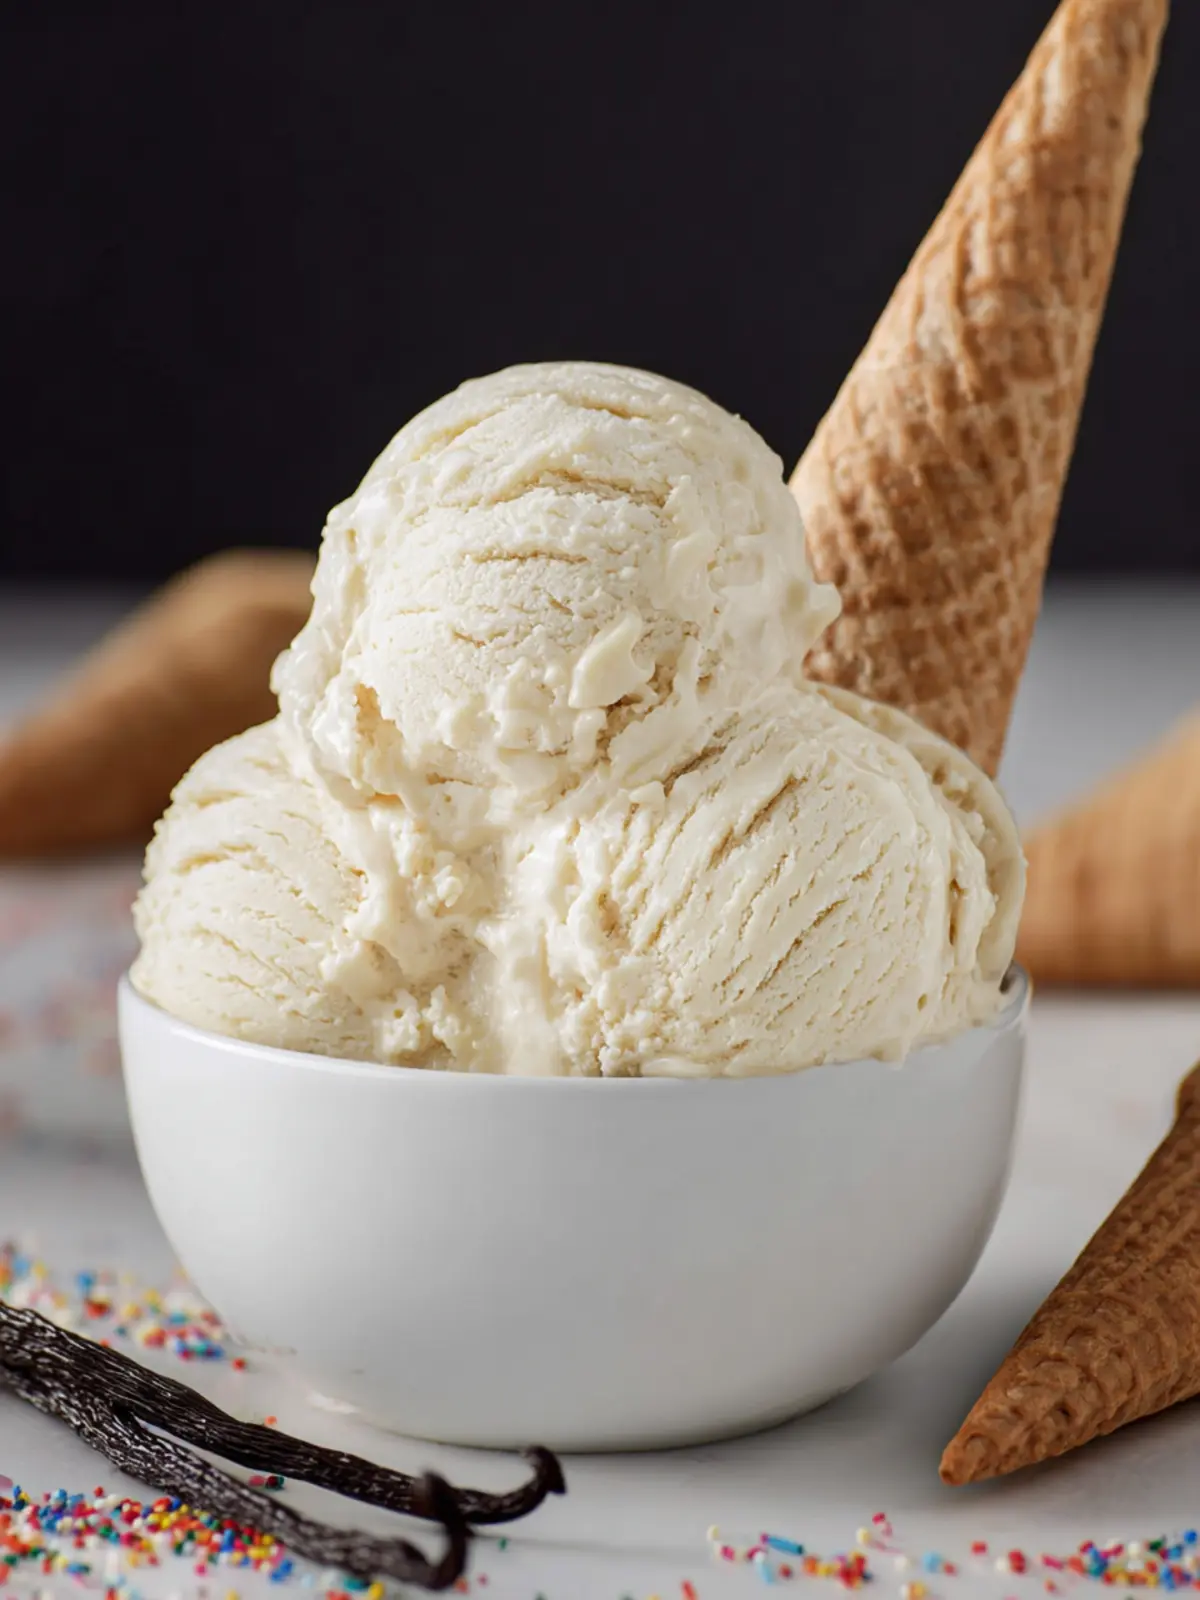
Indulging in your homemade vanilla ice cream recipe is a true treat, especially when you consider the delightful ways to amplify its flavor. Imagine a sunny afternoon on your patio, a scoop of creamy vanilla ice cream melting gently in a cone. That’s just one of the many ways you can serve it!
Classic Pairings
- Fresh Fruit: Serve with ripe berries, sliced peaches, or mangos to add a refreshing tartness that complements the sweetness.
- Chocolate Sauce: A drizzle of rich chocolate sauce elevates your vanilla ice cream, creating a classic dessert.
Fun Variations
- Milkshakes: Blend your ice cream with milk and a touch of chocolate or caramel syrup for a delicious milkshake perfect for warm evenings.
- Sundaes: Top with nuts, whipped cream, and cherries for a nostalgic sundae experience.
Each serving option creates a unique twist on your homemade vanilla ice cream recipe, making every scoop a celebration!
Time Breakdown for Homemade Vanilla Ice Cream
Creating your very own homemade vanilla ice cream is a delightful process that blends simplicity with culinary creativity. Understanding the timing involved can help ensure everything runs smoothly and you savor the sweet rewards of your effort.
Preparation Time
Getting started takes approximately 15 minutes. This step includes measuring out your ingredients—like heavy cream, milk, and vanilla extract—and whisking them together to form a luscious base.
Chilling Time
After your mixture is prepared, it needs to chill for at least 4 hours, or preferably overnight. This is when the flavors deepen, creating that rich vanilla taste you crave. It’s a good opportunity to tidy up your kitchen or dream about the delicious treat awaiting you!
Total Time
In total, you’re looking at about 4 hours and 15 minutes for this homemade vanilla ice cream recipe, but trust me, the wait is worth it! The combination of your easy prep and chilling time ensures you’ll have a creamy delight ready to enjoy at the end of your day.
Nutritional Facts for Homemade Vanilla Ice Cream
Creating your own homemade vanilla ice cream is not just a delightful experience; it also comes with some interesting nutritional insights. Understanding the nutritional aspects can help you enjoy your treat guilt-free.
Calories
A serving of this delicious homemade vanilla ice cream typically contains around 200-250 calories. This makes it a relatively moderate indulgence perfect for a summer day or a cozy evening.
Protein
Interestingly, this delightful ice cream offers about 4-5 grams of protein per serving. The combination of cream and eggs contributes to this protein content, making it a bit more satisfying than store-bought options.
Fat
With 10-15 grams of fat in each serving, you can expect that rich and creamy texture that we all love. While it leans towards higher fat content, opting for high-quality ingredients ensures you’re still indulging in something delicious and rewarding.
Enjoy making and savoring your homemade vanilla ice cream!
FAQs about Homemade Vanilla Ice Cream
Creating the perfect homemade vanilla ice cream is a delightful journey, and common questions can often lead to the tastiest results. Here’s a closer look at some of the most frequently asked questions.
Can I use different types of milk?
Absolutely! While heavy cream and whole milk are the base for a rich and creamy texture, feel free to experiment. If you’re looking for a lighter option, a combination of half-and-half and whole milk can work beautifully. You can even try using dairy alternatives like almond or coconut milk. Keep in mind that these alternatives may slightly alter the final flavor and texture, but it’s a fun adventure in ice cream making!
How do I achieve a creamier texture?
To make your homemade vanilla ice cream as creamy as possible, consider these tips:
- Chill your ingredients: Start with cold milk and cream for a smoother mixture.
- Don’t skimp on churning: A good ice cream maker not only mixes but also incorporates air, making the ice cream lighter and creamier.
- Add a pinch of salt: This enhances the flavor and can help counteract ice crystal formation, adding to a creamier mouthfeel.
What’s the best way to store homemade ice cream?
Storing your ice cream properly is key to maintaining its delightful flavors and texture. Use an airtight container to minimize air exposure. For best results, press a piece of parchment paper directly onto the surface of the ice cream before sealing the container to prevent ice crystals from forming. Always store it in the coldest part of your freezer, away from the door, to keep it consistently frozen.
With these FAQs, you’re all set to embark on your homemade vanilla ice cream recipe adventure! Happy churning!
Conclusion on Homemade Vanilla Ice Cream
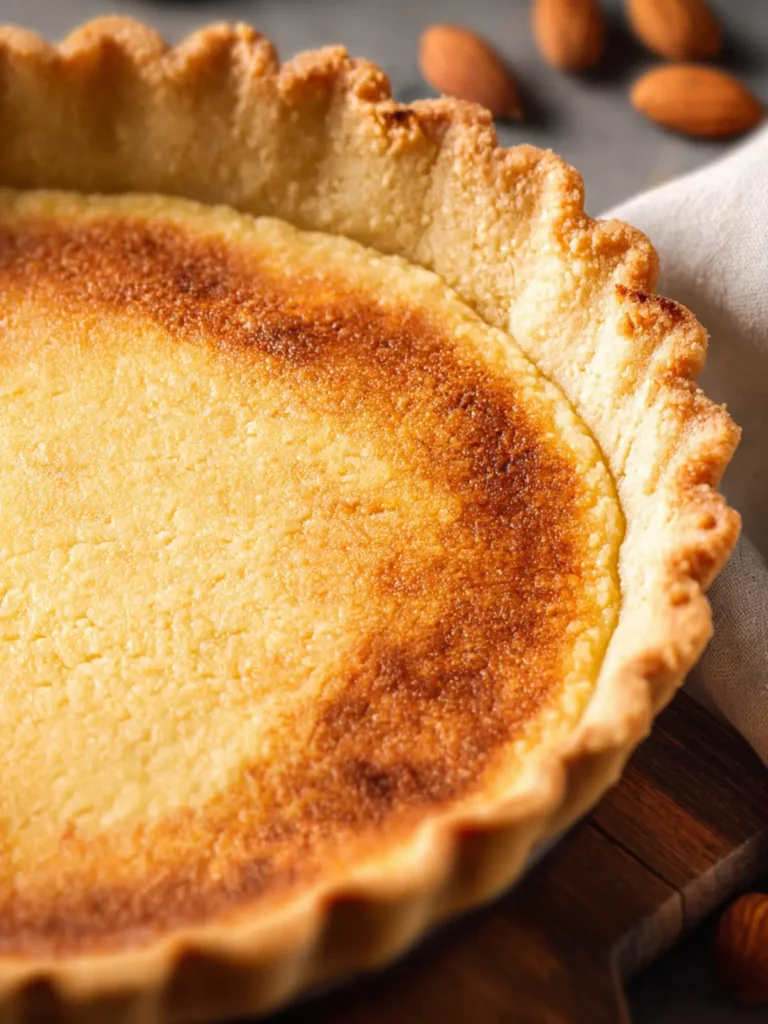
Creating your own homemade vanilla ice cream is a rewarding experience that brings a taste of nostalgia and joy right to your kitchen. By using simple ingredients like cream, sugar, and high-quality vanilla, you can craft a dessert that’s not only delicious but also customizable to suit your preferences. Whether you enjoy it in a cone, alongside a warm slice of pie, or simply on its own, this ice cream can become a staple in your dessert repertoire. So, don’t hesitate—try this homemade vanilla ice cream recipe for a delightful treat that will impress friends and family alike!
Print
Vanilla Ice Cream
- Total Time: 2-3 hours
- Yield: 8 servings 1x
- Diet: Vegetarian
Description
This creamy vanilla ice cream is made with eggs, sugar, and rich cream, perfect for any dessert lover.
Ingredients
Scale
- 2 large large eggs
- 4 large egg yolks
- 1 1/2 cups granulated sugar
- 2 cups heavy whipping cream
- 2 cups half and half
- 1 tablespoon pure vanilla extract
- 2 tablespoons vanilla paste
Instructions
- Beat eggs and egg yolks in a medium sized bowl. Next add sugar to the bowl and whisk together.
- Add heavy cream and half and half to a large saucepan and heat gently; do not let come to a boil.
- Temper eggs by slowly pour 1 cup of hot heavy cream mixture into egg mixture while whisking quickly. This will raise the temperature of the eggs carefully without scrambling them. Then while stirring, pour the tempered egg mixture slowly into the remaining heavy cream mixture in the saucepan.
- Gently heat ice cream base over medium low heat, stirring constantly (especially the corners of the pot), until thickened and reaches 170F on a digital thermometer. The mixture should look silky and coat the back of a spoon so when you run your finger through it, it doesn’t come back together.
- Remove from heat and add vanilla.
- Strain through a fine-mesh sieve (to catch any cooked egg pieces) and chill in an ice bath (a bowl set inside of a bowl of ice water) until it’s cooled to room temperature. Then cover with plastic wrap and move into the refrigerator until completely cold, about 2-3 hours.
- Once completely cooled, add your mixture to an ice cream maker according to the manufacturer’s instructions and freeze.
Notes
- Chilling the mixture thoroughly is crucial for a smooth texture.
- Ensure to strain the mixture to avoid any cooked egg pieces.
- Prep Time: 30 minutes
- Cook Time: 20 minutes
- Category: Dessert
- Method: Chilling and Churning
- Cuisine: American
Nutrition
- Serving Size: 1/2 cup
- Calories: 300
- Sugar: 25g
- Sodium: 50mg
- Fat: 20g
- Saturated Fat: 12g
- Unsaturated Fat: 8g
- Trans Fat: 0g
- Carbohydrates: 30g
- Fiber: 0g
- Protein: 4g
- Cholesterol: 130mg