Follow Me On Social Media!
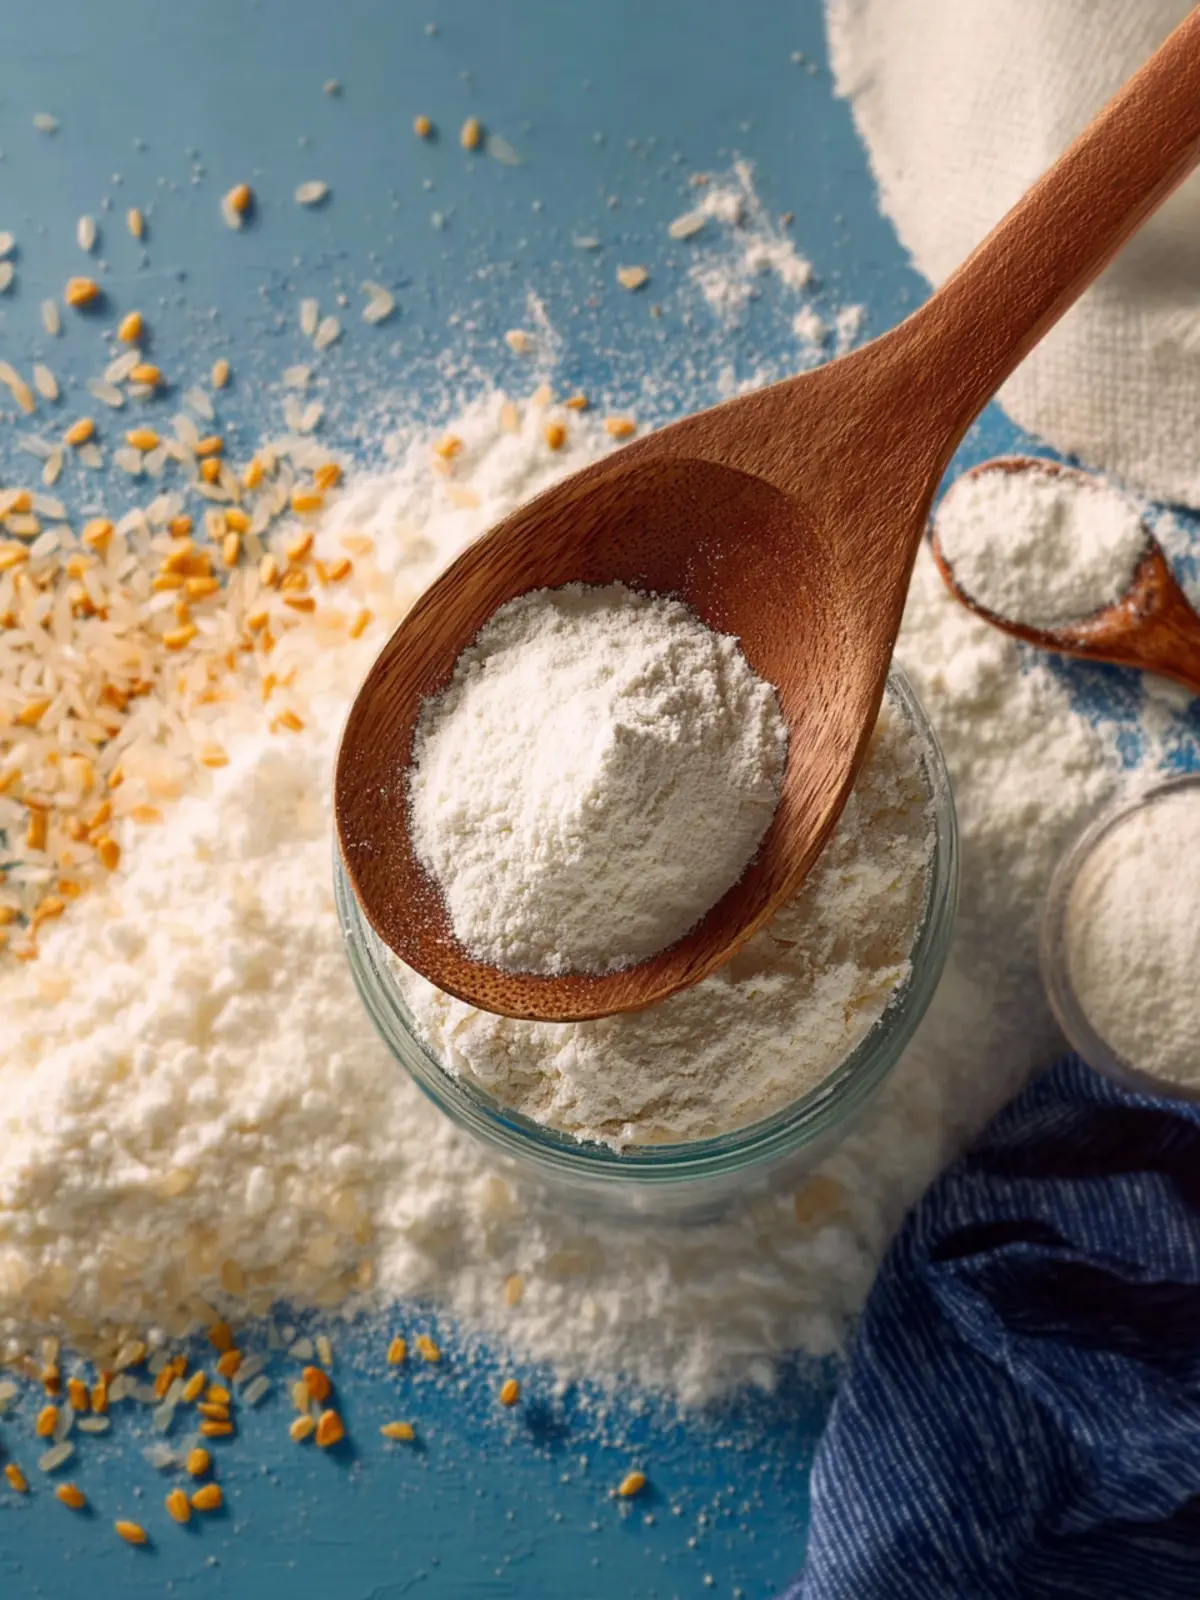
Homemade Rice Flour: The Easy Way to Elevate Your Baking
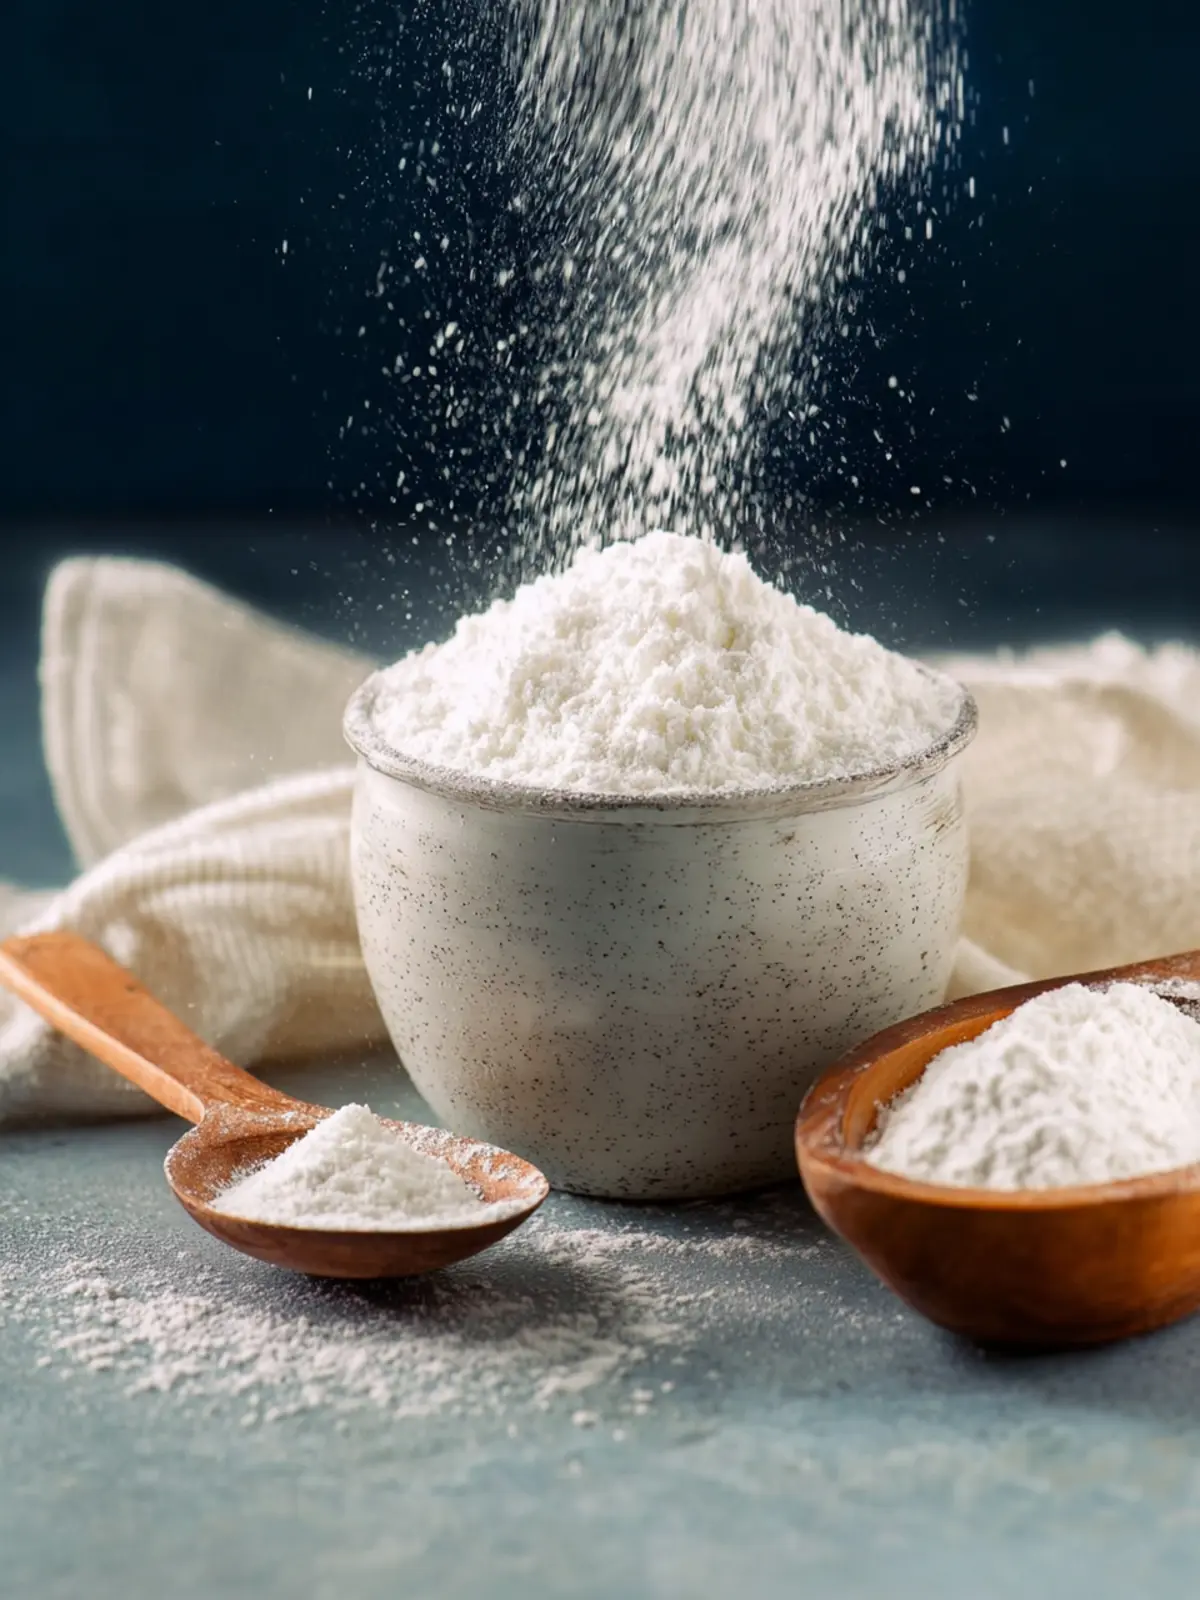
Introduction to Homemade Rice Flour
Discovering the process of creating homemade rice flour feels like unearthing a culinary gem hidden in your pantry. It’s not just about turning rice into flour; it’s about infusing your meals with freshness and personality. Imagine waking up to the nutty aroma of fresh rice flour, the kind that store-bought varieties can’t replicate. This simple act transforms your kitchen into a haven for wholesome cooking, inviting creativity into your baking and cooking adventures.
Making your own rice flour opens up a world of possibilities. As someone who enjoys experimenting in the kitchen, I can attest to the satisfaction of knowing exactly what goes into your ingredients. From gluten-free baking to thickening sauces or even enhancing the crispiness of fried dishes, homemade rice flour is incredibly versatile. Plus, it’s a fantastic solution for those with gluten sensitivities, offering a safe and delicious option for various recipes.
What Makes Homemade Rice Flour So Special?
So, why should you venture into making your own rice flour? Here are some standout reasons:
-
Freshness: Homemade rice flour is always fresh, ensuring that your dishes have the best possible flavor and texture. Store-bought options can often sit on shelves for long periods, losing their vibrant qualities.
-
Control Over Texture: Depending on your needs, you can grind the rice to your desired coarseness or fineness. This ability allows you to tailor it specifically for every culinary task.
-
Cost-Effective: Making rice flour at home is also budget-friendly. A simple bag of rice generally costs less than a pre-packaged bag of flour, especially if you purchase in bulk.
-
No Additives: Store-bought rice flour can sometimes contain additives or preservatives. By making it at home, you ensure a pure product without unnecessary extras.
-
Customizable: Get adventurous! You can mix different types of rice, like brown rice for a nuttier flavor or jasmine rice for its subtle perfume, yielding unique flour that can elevate your recipes.
Embracing the homemade route not only enriches your cooking but also adds a personal touch to your meals, making every bite a little more special.
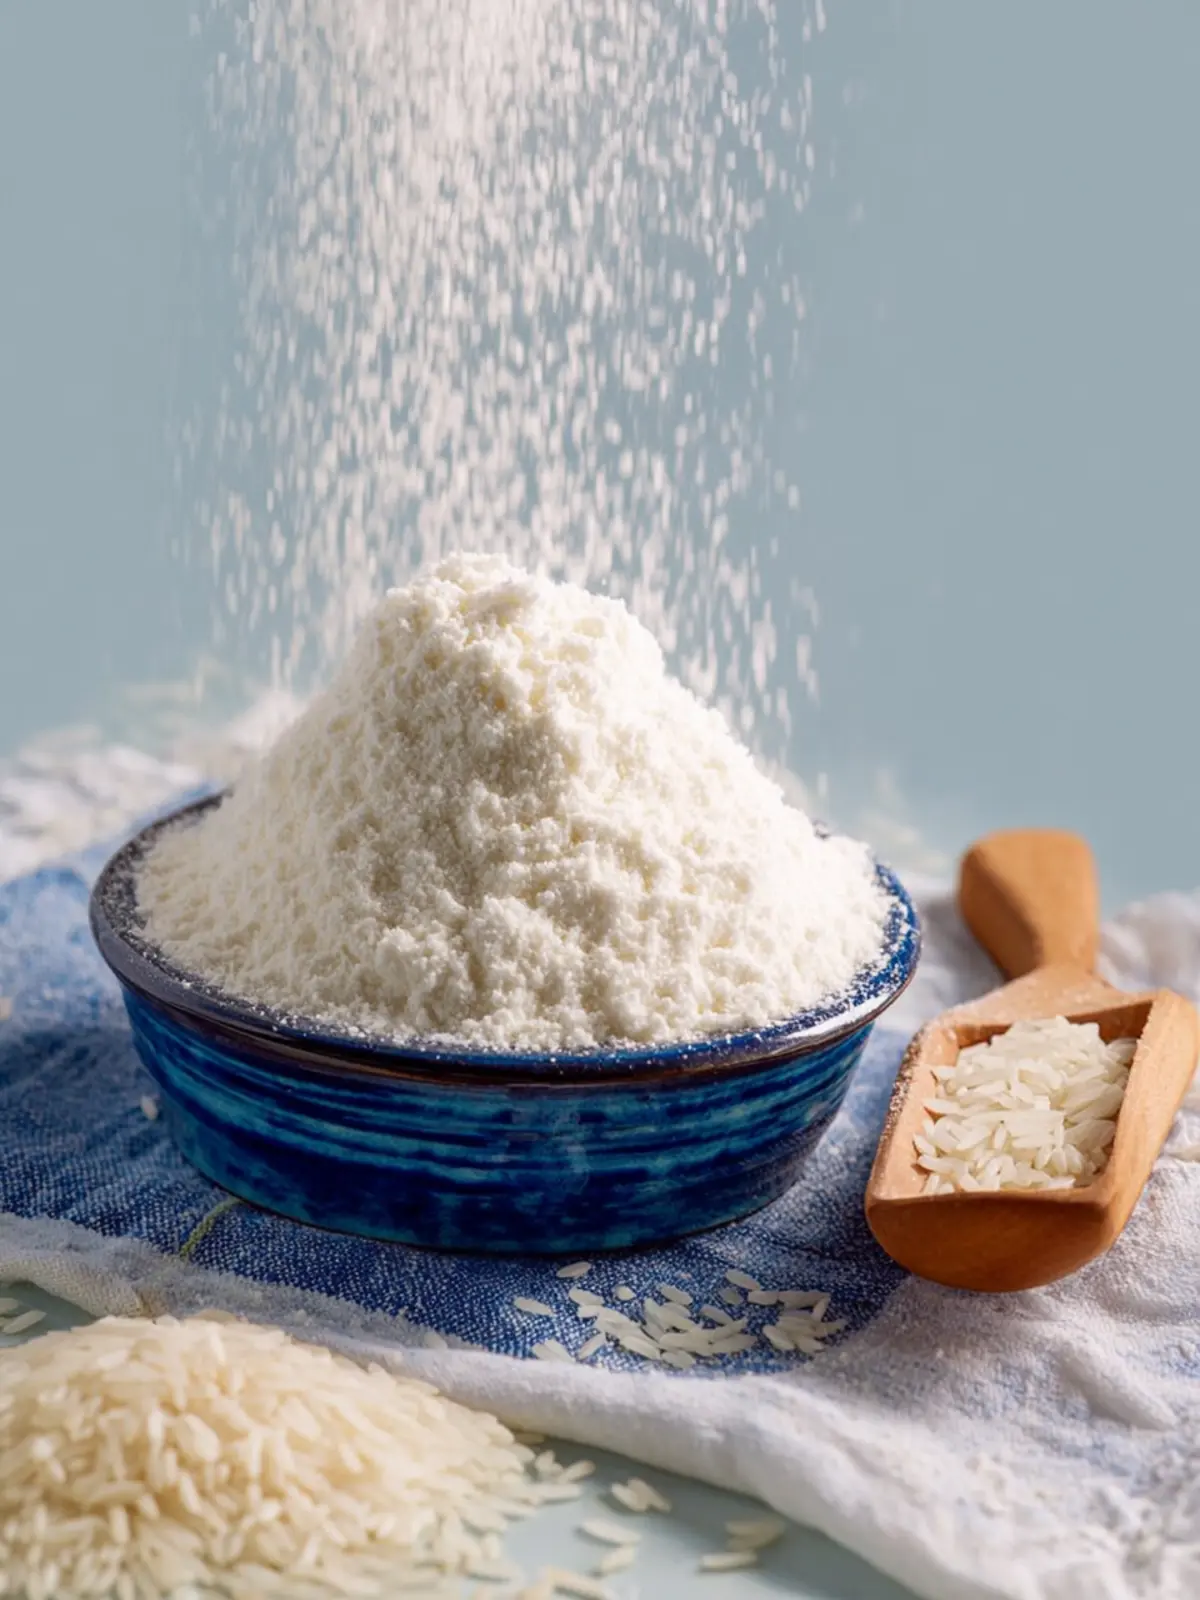
Key Ingredients for Homemade Rice Flour
Creating homemade rice flour can be a delightful kitchen adventure, allowing you to enjoy a flour that’s both fresh and versatile. The key ingredient is, of course, rice.
-
Rice: I recommend using long-grain white or brown rice for your flour. Long-grain rice tends to yield a finer texture, which is perfect for baked goods. Brown rice will give you a nuttier flavor and more nutrients, but it may require a bit more effort to achieve that silky smooth texture.
-
Blender or Food Processor: A high-quality blender or a powerful food processor is crucial when making homemade rice flour. A less powerful machine may not grind the rice finely enough, leaving you with a gritty texture in your final product.
-
Sifter: After grinding, a fine mesh sifter helps to separate any larger grains. For recipes requiring an ultra-fine flour, sifting is a necessary step to ensure a smooth and consistent result.
With just these three essentials, you can enjoy the benefits of fresh homemade rice flour in your favorite recipes!
Why You’ll Love This Homemade Rice Flour
Creating your own homemade rice flour is not just a culinary activity; it’s a small adventure filled with flavor and discovery. Imagine standing in your kitchen, the comforting hum of your blender or spice grinder filling the air as you transform simple rice into a fine flour. The process is rewarding—and it’s incredibly healthy, too!
Fresh and Natural Quality
One of the best parts about making your own rice flour is knowing exactly what goes into it. Store-bought versions often contain preservatives and additives for shelf life, while your homemade flour is pure and natural. The taste is fresher, and you’ll appreciate the fact that it’s free from unnecessary ingredients.
Versatility in Cooking
Homemade rice flour opens up a world of culinary possibilities. From gluten-free baking to thickening soups and sauces, its uses are endless. Picture whipping up a batch of light and airy pancakes or a creamy risotto, all enhanced by the unique texture and flavor of your freshly milled flour.
Cost-Effective Solution
Have you ever glanced at the price tag on specialty gluten-free flours? With your own homemade rice flour, you can significantly cut costs. By simply buying rice—often much cheaper than pre-packaged flour—you’ll save money and reduce waste, all while enjoying a consistently fresh product.
Easy Process
Worried that making your own flour is complicated? Fear not! It requires minimal equipment and just a few easy steps. Within moments, you’ll have fine rice flour ready for your next culinary creation, making it not only a fun project but also a time-efficient one.
So grab that rice and let’s start milling! You’ll soon understand why making homemade rice flour is an absolute game-changer in your kitchen.
Variations of Homemade Rice Flour
When you dive into the world of homemade rice flour, you quickly uncover endless possibilities that cater to your culinary tastes and dietary needs. Feeling creative? Try these variations to elevate your kitchen game.
Brown Rice Flour
Using brown rice instead of white not only imparts a nuttier flavor, but also adds more fiber and nutrients. It’s perfect for making hearty breads or pastries, while still being gluten-free. If you’re aiming for a healthier option, this is definitely the way to go!
Jasmine Rice Flour
For those who crave something aromatic, using jasmine rice can add a delightful floral essence to your homemade rice flour. This variation is fantastic for desserts, enhancing cakes and puddings with a subtle fragrance that can transport you to Southeast Asia with each bite.
Sticky Rice Flour
Ever tried making mochi or other traditional Asian delicacies? Sticky rice flour—derived from glutinous rice—offers a chewy texture that’s essential for these recipes. It’s unique and fun for experimenting with different textures in your cooking.
Mixtures of Rice Flour
Feeling adventurous? Combine different types of rice, such as red or black rice with white rice, to create a unique blend. Not only does this add a range of flavors and colors, but it also makes for visually appealing dishes that impress.
Each variation of homemade rice flour brings its own charm to your kitchen, inviting you to mix and match according to your culinary inclinations. So gather your ingredients and let your creativity flow!
Tips for Making Homemade Rice Flour
Making your own homemade rice flour can be a rewarding experience, bringing freshness to your pantry staples. Start by selecting the right type of rice. I recommend using long-grain rice, such as Jasmine or Basmati, because they’re drier and yield a finer flour. Short-grain rice tends to have more moisture, which can result in a coarser texture.
The Right Equipment Matters
A high-quality blender or food processor can make a significant difference in the fineness of your flour. While some might prefer traditional stone grinders for authenticity, most modern blenders will do a great job if used correctly. Be sure to blend in batches; overloading can lead to uneven consistency, slightly defeating your purpose.
Rinse for Better Results
If you’re working with brown rice, rinsing the grains beforehand helps remove any impurities and reduces anti-nutrients. It’s a simple step that can improve both flavor and nutritional value in your homemade rice flour. After rinsing, don’t forget to thoroughly dry your rice; moisture is the enemy of fine flour.
Sifting Makes Perfect
Once you’ve blended, consider sifting the flour to ensure it’s free of larger grains. This extra step minimizes waste and guarantees a smooth result for all your baking endeavors. Your creations will have that professional touch, even if you’re just whipping up pancakes on a lazy Sunday morning! Enjoy the process and your newfound culinary versatility.
Time Breakdown for Homemade Rice Flour
Making homemade rice flour is a rewarding process that connects you to the art of cooking with minimal ingredients. It’s surprisingly simple and doesn’t take much of your time—let’s break it down for you!
Preparation time
This stage typically takes about 10 minutes. You’ll want to measure out your rice (or any specific variety you’re using) and give it a good rinse. This helps remove any excess starch that could affect the texture later.
Grinding time
Once prepared, the grinding phase takes around 5-15 minutes depending on the equipment. A high-speed blender or grain mill can whisk through the task much faster than a regular coffee grinder.
Total time
All in all, you can whip up your homemade rice flour in just about 15 to 25 minutes—perfect for those busy days when you want fresh ingredients without the hassle. Enjoy the process and look forward to your delicious baking adventures!
Nutritional Facts for Homemade Rice Flour
Understanding the nutritional benefits of homemade rice flour can inspire you to incorporate it into your diet more frequently. This gluten-free alternative is not just versatile; it also carries some impressive nutrition statistics.
Calories
Homemade rice flour is relatively low in calories. One cup contains approximately 130 calories, making it an excellent choice for those mindful of their caloric intake while still seeking flavorful options.
Carbohydrates
Its carbohydrate content is about 28 grams per cup, primarily coming from complex carbohydrates. This means you’ll receive a steady energy release, perfect for keeping you active throughout your day.
Protein
With around 2.5 grams of protein per cup, homemade rice flour is not a significant protein source but can easily complement dishes rich in proteins, like legumes or meats.
FAQs about Homemade Rice Flour
Creating homemade rice flour is not just about grinding rice into a fine powder; it’s a journey towards discovering the versatility and charm of this gluten-free staple. Curious about how to make the most of your freshly milled flour? Here are some common questions answered.
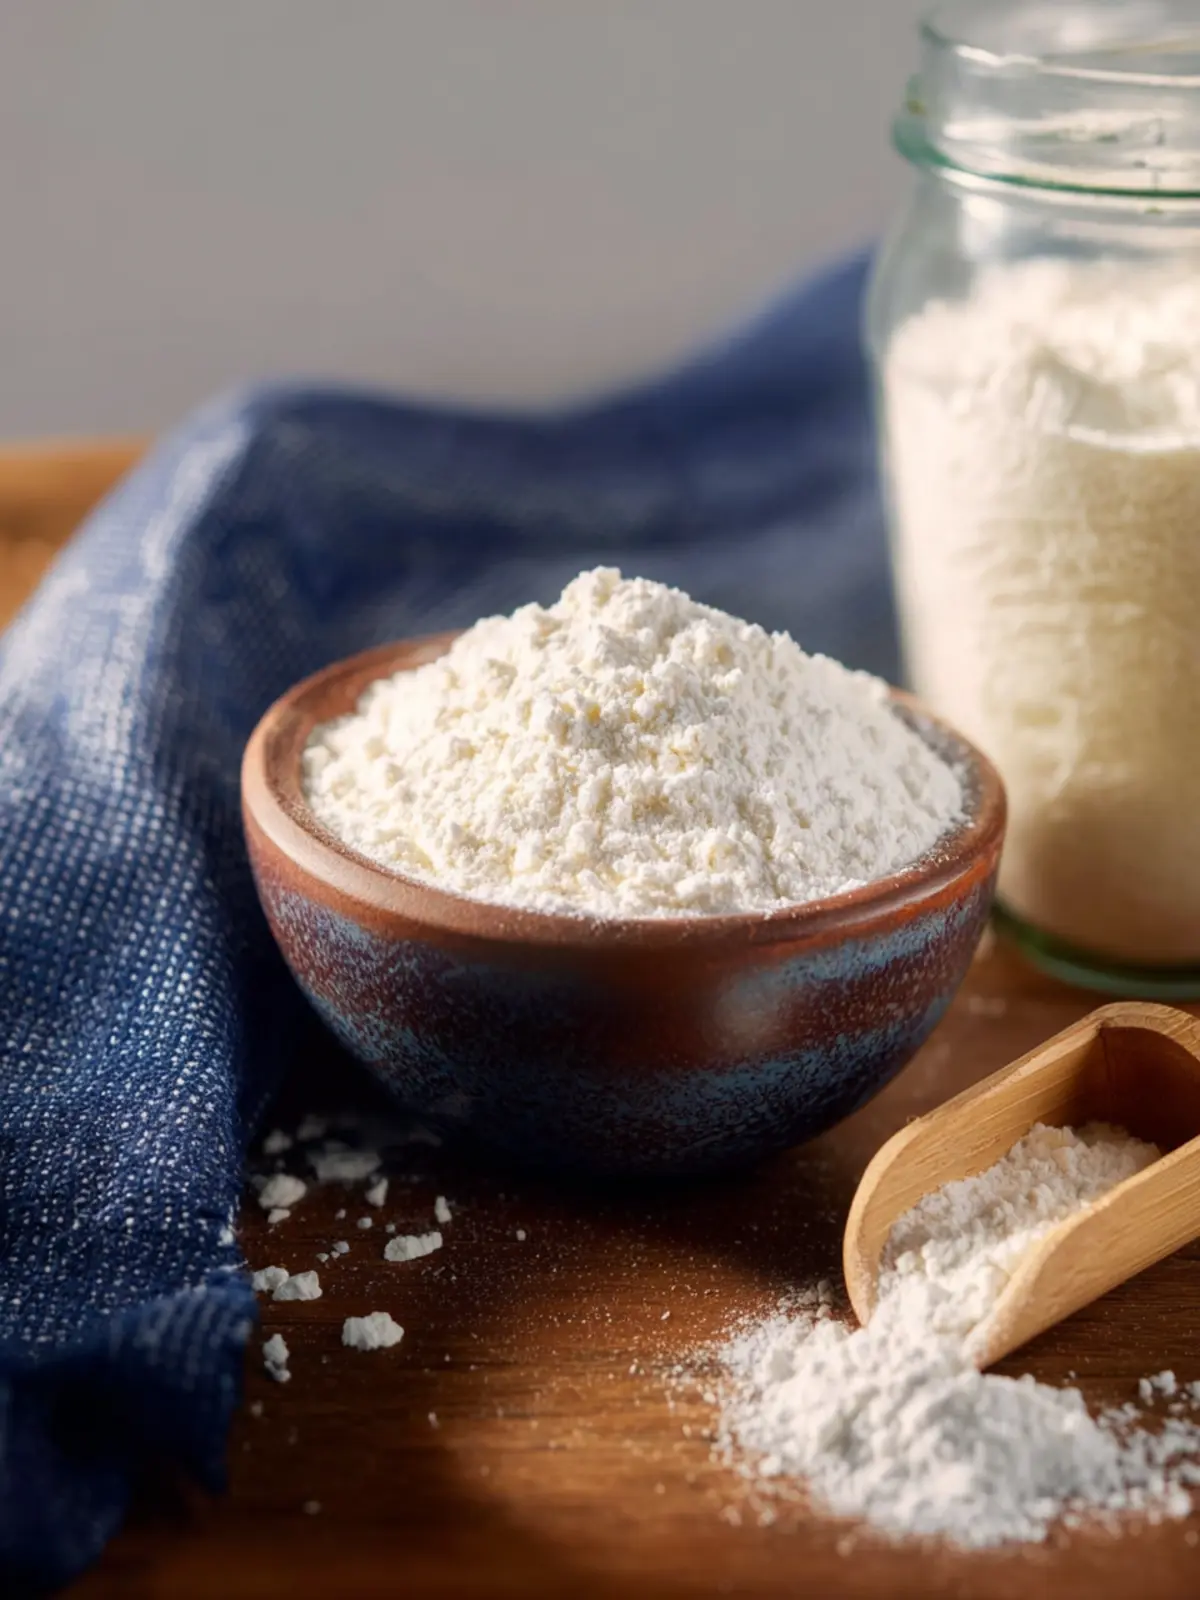
How do I store homemade rice flour?
To keep your homemade rice flour fresh and flavorful, storage is key. Consider the following tips to maintain its quality:
- Container: Use an airtight container to prevent moisture and air from compromising the flour.
- Location: Store it in a cool, dark place like a pantry. For extended shelf life, you can refrigerate or freeze it. Just remember to let it come to room temperature before using it.
- Shelf Life: When stored properly, homemade rice flour can last up to three months in the pantry and up to six months in the freezer.
Can I use this rice flour for gluten-free baking?
Absolutely! Homemade rice flour is a fantastic option for gluten-free baking, making it a favorite among those who need to avoid gluten. It works wonderfully in recipes for pancakes, cakes, and even bread. Keep in mind that because rice flour can be denser than wheat flour, you might need to adjust the liquid or fat used in your recipes.
What types of recipes can use homemade rice flour?
The versatility of homemade rice flour is impressive! Here are some delightful ways to incorporate it into your cooking:
- Pancakes and Waffles: Create light, fluffy breakfast favorites.
- Noodles and Pasta: Make your own gluten-free noodles.
- Thickening Agent: Use it to thicken soups and sauces.
- Baked Goods: From muffins to cakes, it adds a unique texture.
With these insights, you’re ready to dive into the world of homemade rice flour and let your culinary creativity flourish!
Conclusion on Homemade Rice Flour
Creating your own homemade rice flour opens up a world of culinary possibilities. The process is straightforward: simply rinse, dry, and blend your rice to achieve a fine texture. Not only does this approach provide you with a fresher taste, but it also ensures you know exactly what goes into your flour, making it a healthier choice. Imagine the delight of using flour made from rice you’ve sourced yourself in your favorite gluten-free recipes or even traditional dishes. So, the next time you need rice flour, consider taking a moment to make it at home—you’ll be glad you did!
Print
Homemade Rice Flour
- Total Time: 5 minutes
- Yield: Approximately 2 cups flour 1x
- Diet: Gluten-Free
Description
Learn how to make homemade rice flour using long grain white rice.
Ingredients
Scale
- 2 cups Long Grain White Rice
Instructions
- Place the rice in your grinder and grind for about 15 seconds or until nice and fine like flour.
- Most grinders won’t be able to fit the full 2 cups of rice, so just do it a bit at a time.
- If desired, sift the flour to ensure no little chunks of rice remain behind.
- Store in an airtight container, in a cool, dry area for up to 5 months (sometimes longer).
Notes
- Ensure the container is properly sealed to maintain freshness.
- Prep Time: 5 minutes
- Cook Time: 0 minutes
- Category: Baking
- Method: Grinding
- Cuisine: American
Nutrition
- Serving Size: 1 cup
- Calories: 680
- Sugar: 0g
- Sodium: 0mg
- Fat: 1g
- Saturated Fat: 0g
- Unsaturated Fat: 0g
- Trans Fat: 0g
- Carbohydrates: 145g
- Fiber: 2g
- Protein: 13g
- Cholesterol: 0mg