Follow Me On Social Media!
Chocolate Pinwheel Cookies That Will Make You Smile!
Introduction to Chocolate Pinwheel Cookies
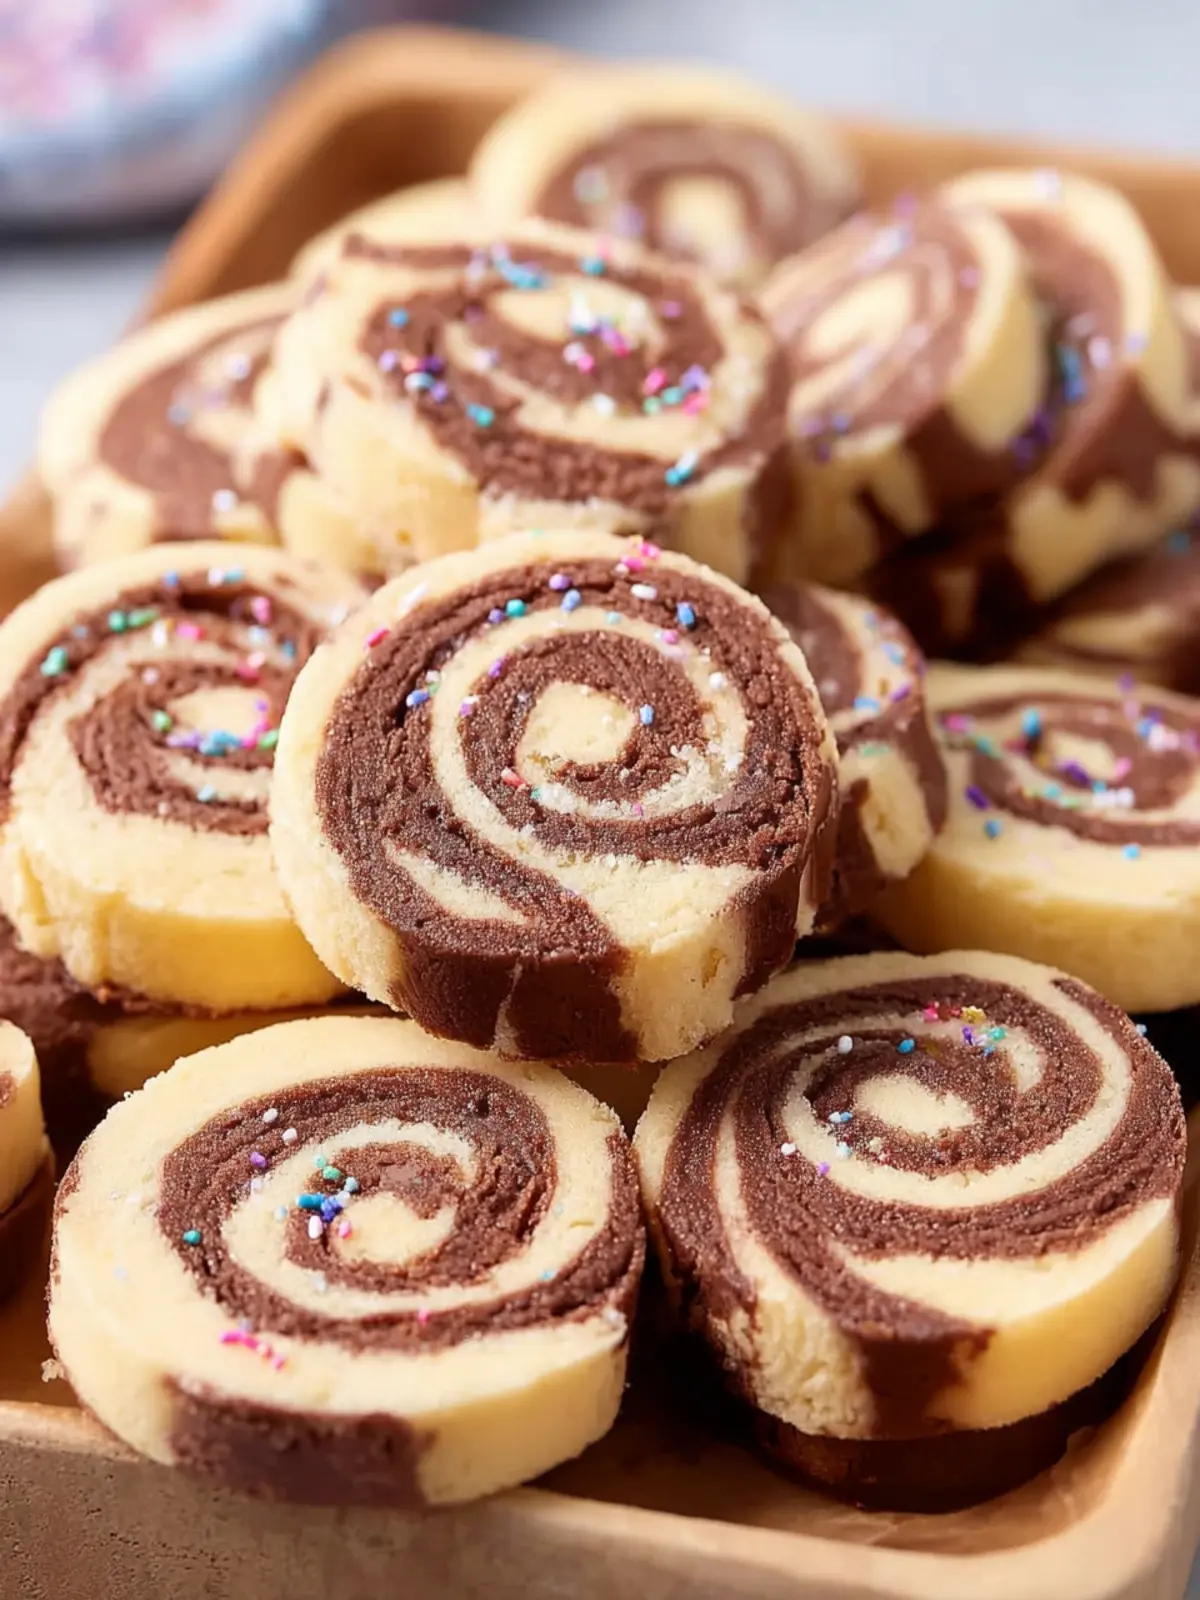
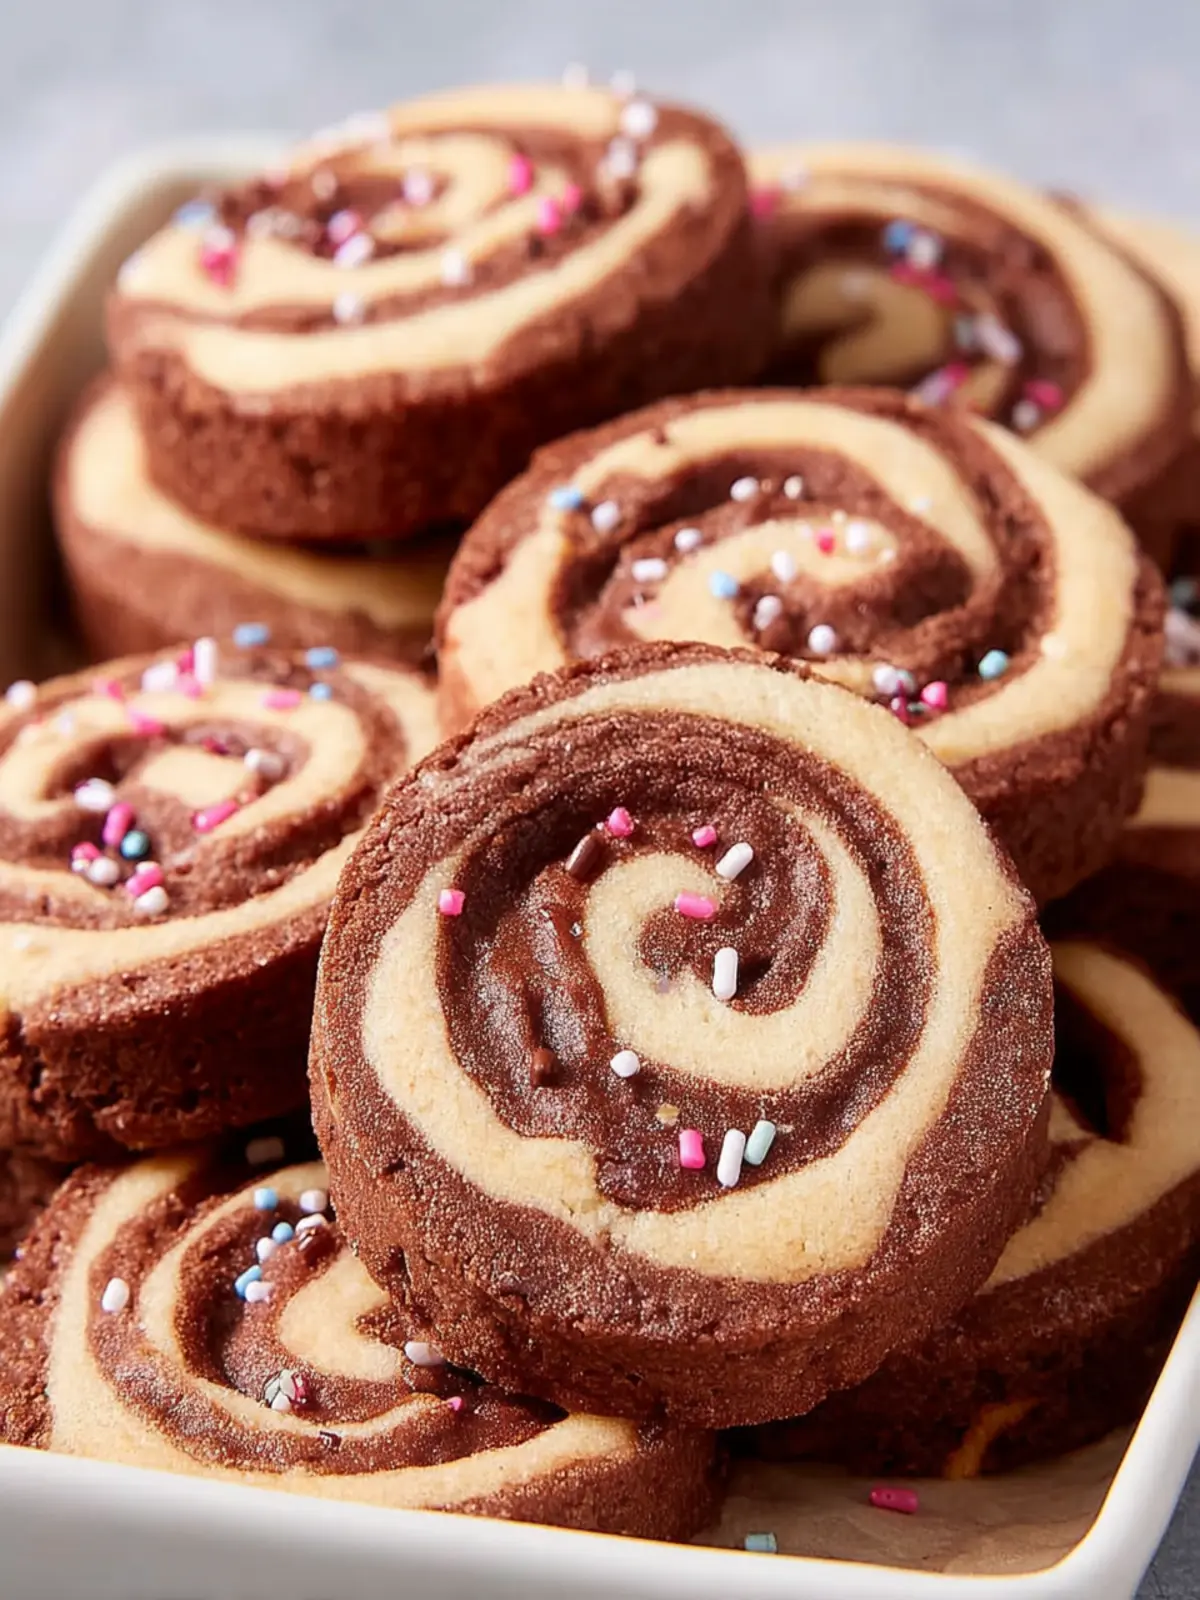
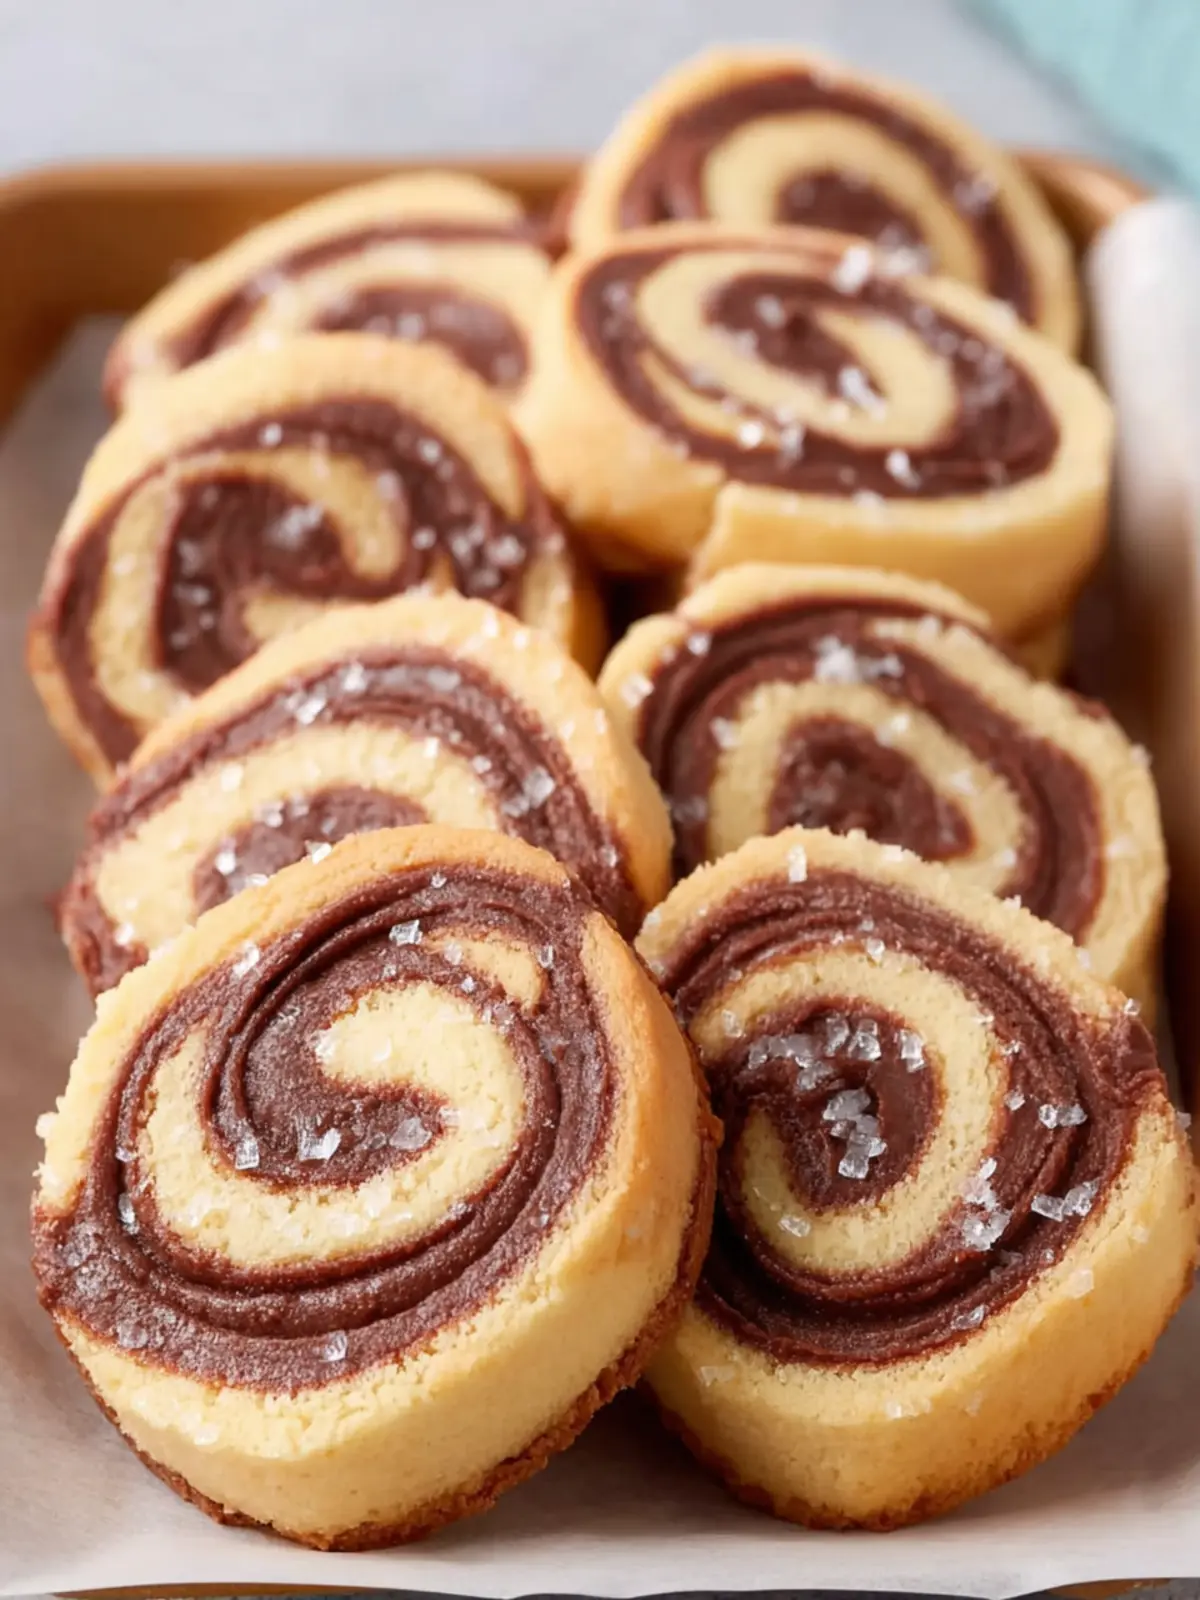
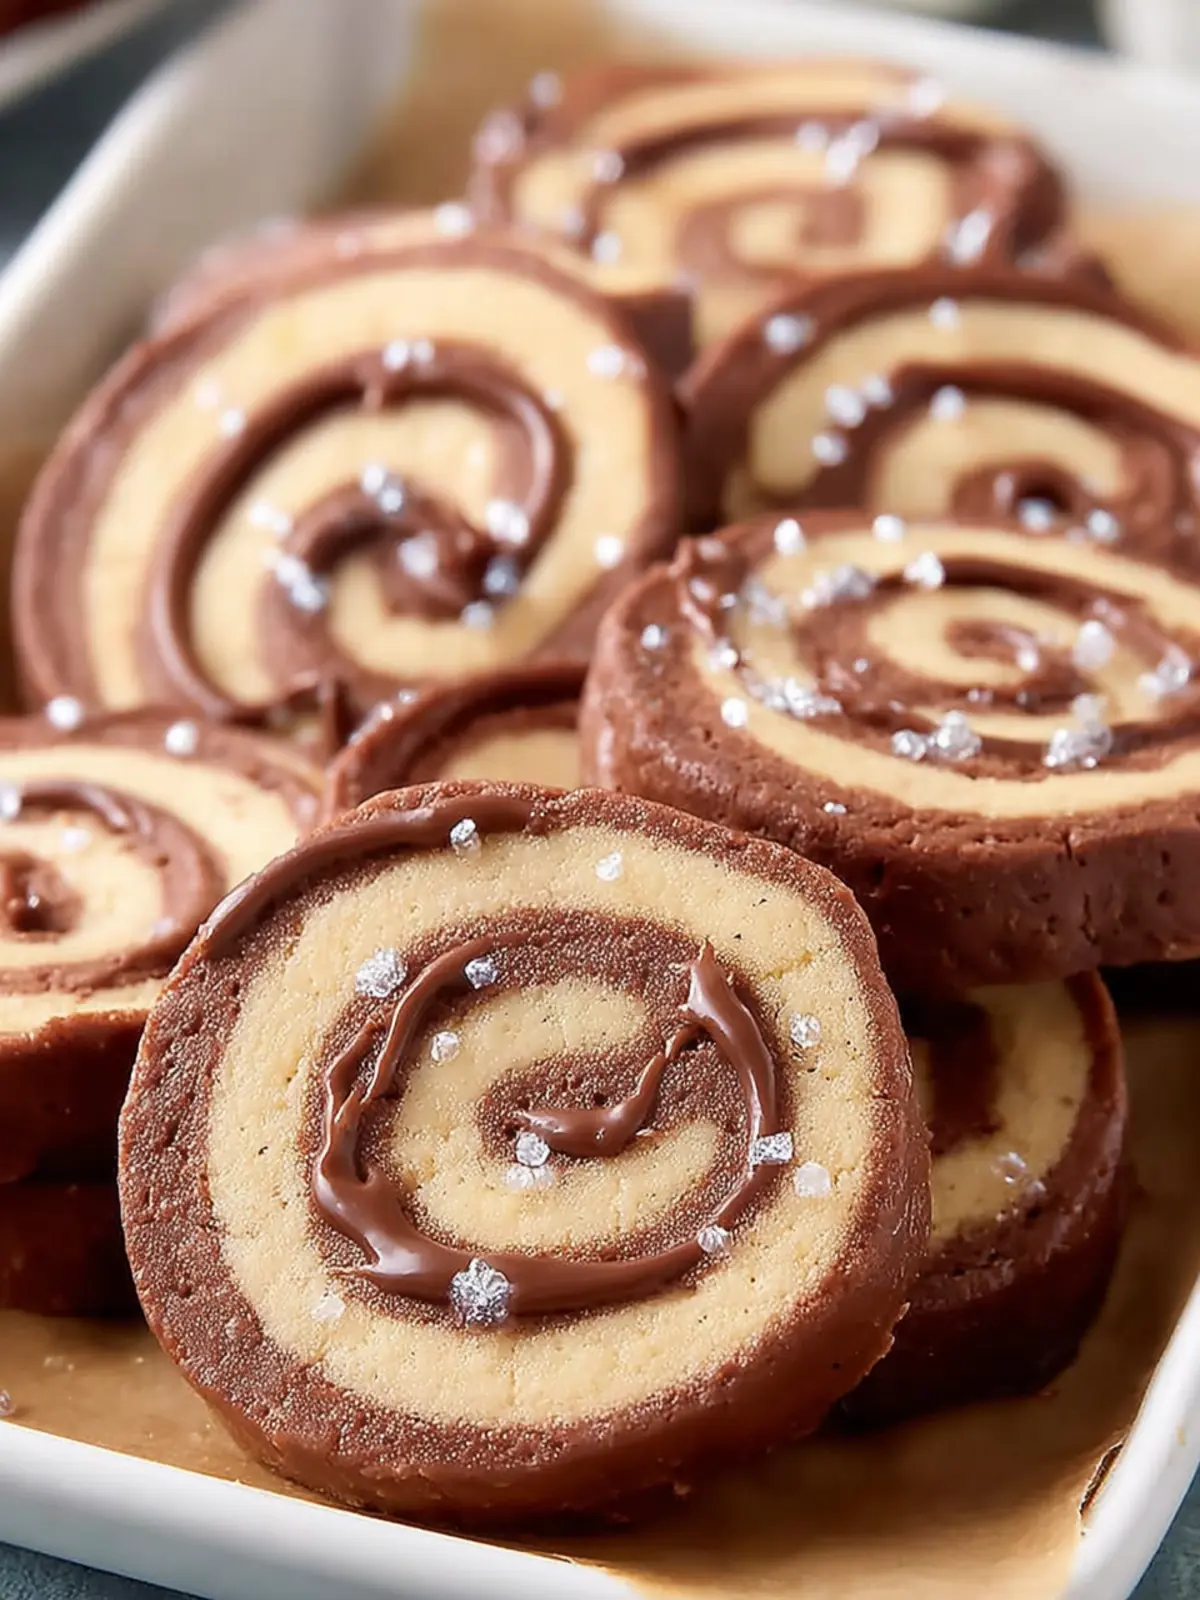
There’s something undeniably enchanting about chocolate pinwheel cookies. These delightful treats aren’t just visually stunning; they offer the perfect harmony of flavors that appeals to the senses. Picture this: a delicate dance of rich, velvety chocolate and a buttery, sweet vanilla dough, spiraled together to create a mesmerizing pattern. These cookies are the kind of baked good that evoke nostalgia, reminding us of afternoons spent in the kitchen with loved ones, crafting recipes passed down through generations.
What makes them so special is not only their eye-catching appearance but also their versatility. Chocolate pinwheel cookies can be dressed up for special occasions or simply enjoyed with a cup of coffee on a quiet afternoon. The combination of textures—soft and slightly chewy—creates a cookie that feels indulgent yet comforting. Plus, their ability to capture the essence of both chocolate and vanilla means they’ll please a variety of palates, making them a perfect addition to any gathering.
When you finally slice into one of these spirals, the contrasting colors of the chocolate and vanilla swirl reveal themselves, inviting curiosity and sparking conversation. Whether they’re served at birthday parties, holiday celebrations, or a simple afternoon tea, their beauty and taste never fail to impress. You might even find these cookies are a conversation starter, as friends and family marvel at your baking prowess.
Ready to dive into the world of making your own chocolate pinwheel cookies? Not only will you impress your friends and loved ones, but you’ll also enjoy the therapeutic process of mixing, rolling, and baking. Let’s roll up our sleeves and create something truly unique and delightful. Your baking journey is about to unfold, and trust me, you’re going to want to share this recipe far and wide!
What makes Chocolate Pinwheel Cookies special?
Chocolate pinwheel cookies stand out primarily because of their visual appeal and delightful flavor pairing. The contrasting swirls of chocolate and vanilla create stunning presentations that can brighten up any dessert table. Additionally, their versatility means they can be enjoyed in various settings, whether it’s a casual coffee date or a festive gathering. Each bite bursts with flavor, making these cookies a memorable treat for everyone lucky enough to indulge.
Key Ingredients for Chocolate Pinwheel Cookies
Creating delightful chocolate pinwheel cookies is a wonderfully rewarding experience that fills your kitchen with the sweet aroma of baking. The magic of these cookies lies in the combination of their key ingredients, each playing a significant role in the final product.
-
Butter: Essential for rich flavor and a tender crumb, butter brings that melt-in-your-mouth texture we all crave. Make sure to use unsalted butter to have better control over the sweetness of your cookie dough.
-
Sugar: A perfect balance of granulated and brown sugar enhances the sweetness and moisture of your cookies. The brown sugar adds depth with its hints of caramel, making each bite distinctly delicious.
-
Cocoa Powder: This is where the chocolate magic begins! Use a high-quality unsweetened cocoa powder to ensure a deep, rich flavor that complements the vanilla layer perfectly.
-
Flour: All-purpose flour provides the structure for your chocolate pinwheel cookies. It holds everything together, so measure carefully to get that ideal texture.
-
Eggs: Using large eggs helps bind the ingredients and contributes to the cookies’ soft and chewy consistency.
-
Vanilla Extract: A splash of pure vanilla extract elevates the flavor, making the cookies irresistible.
With these ingredients at hand, you’re well on your way to making delicious chocolate pinwheel cookies that will delight friends and family alike!
Why You’ll Love These Chocolate Pinwheel Cookies
There’s something incredibly enchanting about chocolate pinwheel cookies. Imagine a world where the soft, rich chocolate meets the buttery, sweet goodness of vanilla in a delightful swirl. These cookies are more than just a treat; they evoke a sense of nostalgia that transports you back to cozy afternoons spent baking with loved ones.
-
Visually Stunning: The marbled layers of chocolate and vanilla aren’t just delicious but also create an eye-catching centerpiece on any dessert table. Friends and family will be reaching for these cookies, eager to try the unique flavor combination.
-
Versatile Indulgence: Whether you’re baking for a holiday, a gathering, or just treating yourself, these chocolate pinwheel cookies fit the bill. They pair beautifully with a cup of tea or coffee, making them a perfect addition to a casual get-together or a sophisticated soirée.
-
Easy to Prepare: Despite their impressive appearance, the recipe is straightforward and approachable, ideal for those who might be new to baking. You’ll appreciate the satisfaction of impressing others with something that feels fancy but is easy to whip up.
When you bake these cookies, you’re not just creating a dessert; you’re crafting a delightful experience. Grab your rolling pin and get ready to fall in love with every bite of these magical swirls!
Variations of Chocolate Pinwheel Cookies
Exploring chocolate pinwheel cookies can lead you to a delightful world of flavors and textures. These playful treats aren’t just one-note wonders; their versatility makes them a favorite for any occasion.
Swirls of Flavor
-
Peanut Butter Chocolate Pinwheels: Add a creamy layer of peanut butter to one of the doughs, giving your cookies a delightful nutty twist. The salty and sweet combination is nothing short of irresistible.
-
Mint Chocolate Pinwheels: Incorporate peppermint extract into your chocolate dough. After baking, a sprinkle of crushed candy canes on top delivers a festive touch that’s perfect for holiday gatherings.
-
Spiced Pumpkin Pinwheels: Swapping some flour for pumpkin puree in the vanilla dough not only adds moisture but also introduces warm spices like cinnamon and nutmeg, creating a cozy autumn flavor.
Colorful Alternatives
-
Cocoa-Free Options: For those who prefer a lighter touch, try a lemon or matcha-infused green dough paired with the classic vanilla. It’s fresh, unique, and visually stunning!
-
Dye It Right: Adding natural food coloring to the vanilla base can create a rainbow of choices. Think about inviting kids into the kitchen to get creative with their favorite shades.
No matter which variation you choose, chocolate pinwheel cookies are sure to be a hit, offering a blend of tastes and creativity that keeps the baking fun alive.
Cooking Tips and Notes for Chocolate Pinwheel Cookies
Baking chocolate pinwheel cookies transports me back to my childhood when I’d watch my grandmother carefully swirl the dough, creating beautiful spirals of chocolate and vanilla. If you want to take your baking experience to the next level, consider these helpful tips and notes!
Chill the Dough
Allowing your dough to chill for at least 30 minutes before rolling is crucial. This firms up the dough, making it easier to slice and preventing the cookies from spreading too much in the oven. Plus, the chilling process enhances the flavors.
Master the Swirl
For that perfect pinwheel effect, roll both the chocolate and vanilla dough into even rectangles. Use a sharp knife to trim the edges, ensuring a clean roll. When rolling, gently press as you go, but don’t pull too hard, or you might break the dough.
Uniform Slices
Using a sharp knife to slice your chocolate pinwheel cookies ensures even cooking. Aim for uniform thickness — about ¼ inch works perfectly. If the dough gets too soft during slicing, pop it back in the fridge for a few minutes.
Baking Time and Temperature
Keep an eye on your cookies while they bake. Every oven is a little different, so start checking for doneness a couple of minutes early. You want them slightly golden around the edges but still soft in the center.
By following these tips, you’ll create delightful chocolate pinwheel cookies that are not only visually stunning but also melt-in-your-mouth delicious! Happy baking!
Serving Suggestions for Chocolate Pinwheel Cookies
There’s something truly special about chocolate pinwheel cookies that makes them the perfect treat for any occasion. These delightful cookies are not just visually stunning; their swirling patterns beckon guests to take a bite. To elevate your cookie experience, consider the following serving suggestions:
-
With a Glass of Milk: The classic pairing of cookies and milk never fails. The creamy richness complements the chocolate flavor while balancing out the sweetness.
-
On a Dessert Platter: Arrange your chocolate pinwheel cookies alongside other treats like brownies or mini cheesecakes. It creates a beautiful dessert spread for gatherings, encouraging everyone to indulge.
-
With Fresh Berries: Serve your cookies with a handful of fresh raspberries or strawberries. The tartness of the berries cuts through the richness of the chocolate, enhancing the overall flavor profile.
-
Dusted with Powdered Sugar: For a whimsical touch, lightly dust your chocolate pinwheel cookies with powdered sugar just before serving. It adds a charming visual contrast to the dark chocolate swirls.
-
As Ice Cream Sandwiches: For a fun twist, use two cookies as the base for a scoop of ice cream, creating delectable ice cream sandwiches. A simple yet unforgettable treat for warm days!
These suggestions will help you enjoy your chocolate pinwheel cookies even more, whether you’re entertaining guests or simply treating yourself.
Time Breakdown for Chocolate Pinwheel Cookies
Baking chocolate pinwheel cookies is more than just a fun project; it’s a delightful experience that both you and your friends will cherish. Understanding the timing involved can help you streamline the process and ensure scrumptious results. So, let’s break it down!
Preparation time
The preparation time for these cookies is about 30 minutes. You’ll need this time to mix your ingredients and shape the dough into a log for chilling.
Chilling time
Once prepped, the dough requires about 2 hours of chilling. This step is essential for hardening the dough, making it easier to slice and bake perfectly swirled cookies.
Baking time
Baking takes approximately 12-15 minutes. Keep an eye on them; you want them to be set but not overly browned, ensuring that tender chewiness.
Total time
In total, you’re looking at around 2 hours and 45 minutes from start to finish, which includes all the necessary steps for crafting these delicious chocolate pinwheel cookies. Perfect for a relaxed afternoon or a cozy get-together!
Nutritional Facts for Chocolate Pinwheel Cookies
Creating delicious chocolate pinwheel cookies is not just about the flavors; it’s also about understanding their nutritional benefits. These lovely cookies bring both taste and a bit of sweetness to the table without compromising your healthy eating goals.
Calories
Each cookie contains approximately 100 calories, making them a guilt-free indulgence. Perfect for pairing with your afternoon tea or coffee!
Protein
With about 1.5 grams of protein per cookie, they provide a modest boost to your protein intake. Enjoy them pre-or post-workout for a satisfying treat that keeps you motivated.
Sugar
A delightful sweetness comes from the 8 grams of sugar per cookie. While they satisfy your sweet tooth, you can still enjoy these chocolate pinwheel cookies without exceeding your daily sugar limits.
By keeping an eye on these nutritional facts, you can enjoy the rich flavor of chocolate while staying mindful of your dietary needs.
FAQs about Chocolate Pinwheel Cookies
Baking chocolate pinwheel cookies is always an exciting adventure in the kitchen! However, even seasoned bakers often have questions about this delightful treat. Let’s address some common concerns to help you bake these stunning cookies with confidence.
How can I ensure my cookies don’t spread too much?
One way to keep your chocolate pinwheel cookies from spreading is to chill the dough before baking. After rolling it out and forming the pinwheels, wrap the dough logs in plastic wrap, and refrigerate them for about 30 minutes to an hour. This solidifies the fats, which helps maintain their shape in the oven. Additionally, ensure your baking sheets are adequately greased or lined with parchment paper to prevent sticking.
Can I make the dough in advance and freeze it?
Absolutely! Making the dough ahead of time is a great way to enjoy fresh cookies later. After preparing the dough, shape it into logs, wrap them tightly in plastic wrap, and place them in a freezer bag. They can be frozen for up to three months. When you’re ready to bake, simply thaw in the refrigerator for a few hours before slicing and baking.
What can I do if my dough is too crumbly?
If you find that your chocolate pinwheel cookie dough is too crumbly, don’t worry! A common fix is adding a bit of cold water or an extra tablespoon of softened butter. Mix gently until the dough holds together. Another option is to let it sit for a few minutes at room temperature, as this can help the ingredients bind better.
Conclusion on Chocolate Pinwheel Cookies
In crafting the perfect chocolate pinwheel cookies, you’ve embarked on a delightful journey that combines creativity and flavor. These visually stunning treats not only please the eye but also offer a rich, buttery taste that leaves a lasting impression. By taking time to master the swirling technique, you can bring a sense of artistry to your baking that will wow family and friends at any gathering. Remember, each bite of these cookies is a nod to your effort, balancing the chocolatey richness with the delicate sweetness of the vanilla dough. Happy baking, and enjoy every delicious moment!
Print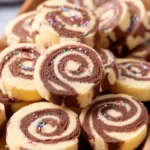
Chocolate Vanilla Swirl Cookies
- Total Time: 2 hours 45 minutes
- Yield: 24 cookies 1x
- Diet: Vegetarian
Description
Delicious cookies with a combination of rich chocolate and smooth vanilla flavors.
Ingredients
Scale
- 1/2 cup unsalted butter (113 gms) (1 stick, room temperature)
- 1/4 cup + 1 tablespoon white granulated sugar (62 gms)
- 2 teaspoons vanilla extract
- 1/8 teaspoon salt
- 1 cup + 3 tablespoons all purpose flour (142 gms)
- 1 1/2 tablespoons cocoa powder (9 gms)
Instructions
- Make vanilla dough. Add the butter, sugar, vanilla, and salt to a medium bowl. Beat with a handheld electric mixer for about 2 minutes, until smooth and creamy.
- Add the flour and mix on low speed, gradually increasing to medium, until the dough comes together and looks slightly sticky. Do not overmix.
- Make Chocolate Dough. Transfer half of the dough to a separate bowl. Add the cocoa powder to the remaining dough and beat until fully combined.
- Roll. Shape the vanilla dough into a rectangular disc and roll it between two sheets of parchment paper to about 1/8-inch thickness. Repeat the same process with the chocolate dough.
- Shape into a log. Carefully remove the top sheet of parchment from one rolled dough and gently place the other dough on top, aligning as best as you can. Don’t worry if the layers aren’t perfect — simply trim any overhanging dough and use it to patch thin or uneven spots. Gently roll the layered dough into a tight log. If the dough cracks or sticks to the parchment, chill it in the fridge for 10–15 minutes before rolling.
- Wrap the log in parchment and roll it lightly on the counter to slightly lengthen it; this helps remove air bubbles and ensures the two dough layers stick together.
- Chill. Place the dough log, still wrapped in parchment, in the fridge and chill for at least 2 hours or up to 2 days.
- Bake. Preheat the oven to 350°F (177°C) and line a large baking sheet with parchment paper. Using a sharp knife, slice the dough into ¼-inch-thick pieces and arrange them on the baking sheet, spacing them about 1 inch apart for 20–25 minutes, or until the cookies are golden, rotating the pan halfway through for even baking.
- Cool in the pan.
Notes
- Chilling the dough helps maintain its shape while baking.
- Store cookies in an airtight container to keep them fresh.
- Prep Time: 20 minutes
- Cook Time: 25 minutes
- Category: Dessert
- Method: Baking
- Cuisine: American
Nutrition
- Serving Size: 1 cookie
- Calories: 120
- Sugar: 8 g
- Sodium: 50 mg
- Fat: 7 g
- Saturated Fat: 4 g
- Unsaturated Fat: 2 g
- Trans Fat: 0 g
- Carbohydrates: 14 g
- Fiber: 0.5 g
- Protein: 1 g
- Cholesterol: 30 mg